I was introduced to Jairo’s work on Flickr, and I liked it very much. In my opinion Jairo has very good eye for people and different situations that involve people. I frequently visit his Flickr account and enjoy great new photos, which he posts pretty often.
Though Jairo has a very busy schedule, he kindly agreed to this interview, and I am very grateful for that!
First of all a little about you.
Tell me a little about yourself. Where are you from? What do you do for a living?
My name is Jairo Abud and I’m 52 years old. I was born in Brazil and live in Sao Paulo. I’m professor of economics at a Business School.
When did you start getting involved in photography?
I always loved photography since I was a teenager. My brother-in-law had a darkroom back then. I used to take pictures in B&W and he would lend me his chemicals and his darkroom so that I could learn and get used to developing my own photos at the age of 16. After I graduated from college, I got involved more with work and did not have much time to spare for my hobby, so I slowed down with photography.
I used to photograph with Praktica (brand of camera manufactured by Pentacon), which is still working pretty well. But two years ago I decided to get a new camera and bought a Sony Alpha 100. And my love of photography came back stronger than before, I guess. My wife told me about Flickr and I decided to start sharing my photos with other people.
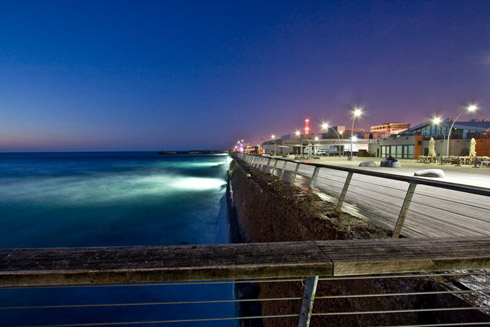
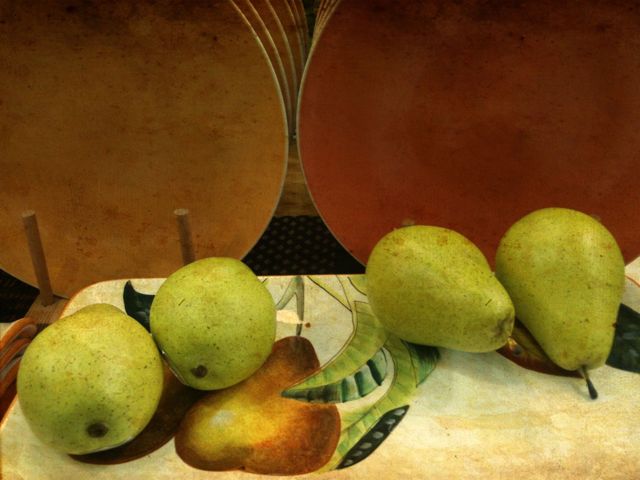
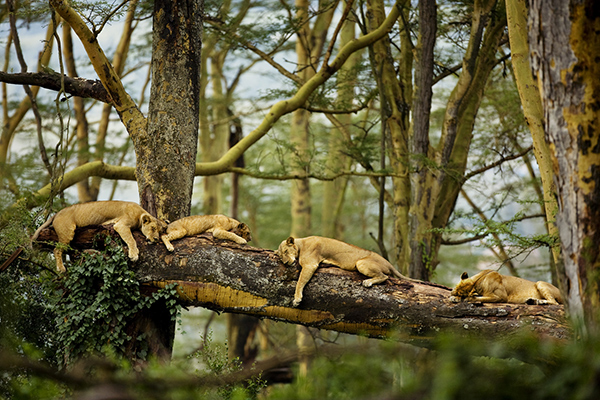
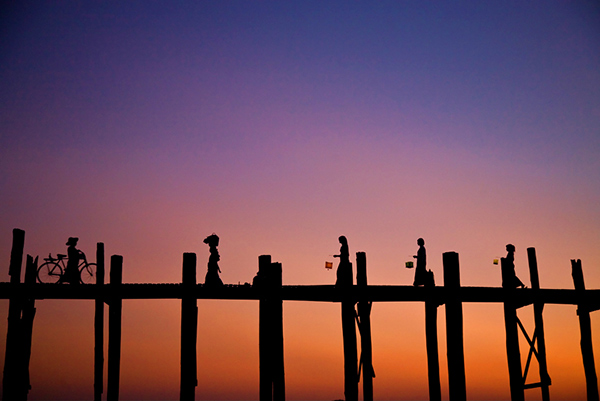
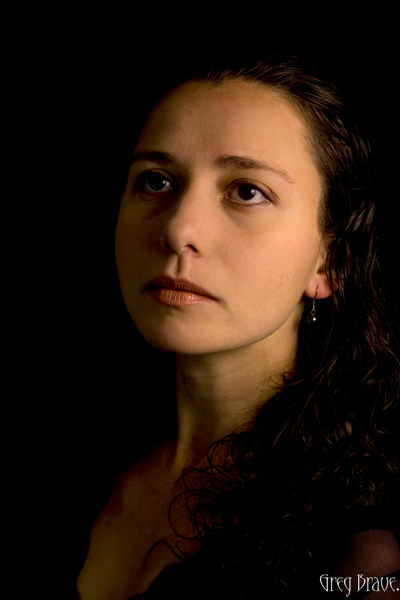
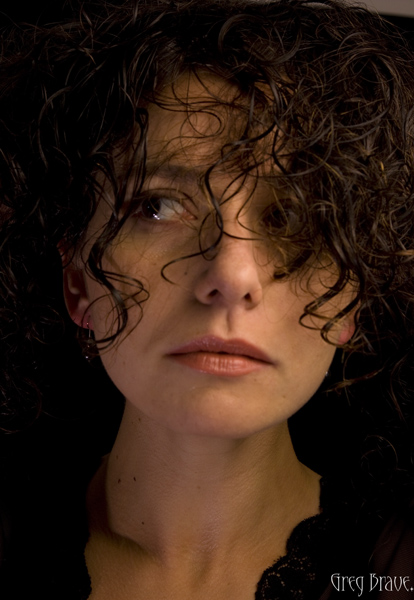
Photograph by Jairo Abud. Click on the photo to enlarge.
What do you like the most about photography?
Unlike in movies, I believe that people have different interpretations and feelings when they look at a photo. Your life experience is the main interpreter of the photos. I really believe that photograph can touch you and set your hidden feelings and sentiments free.
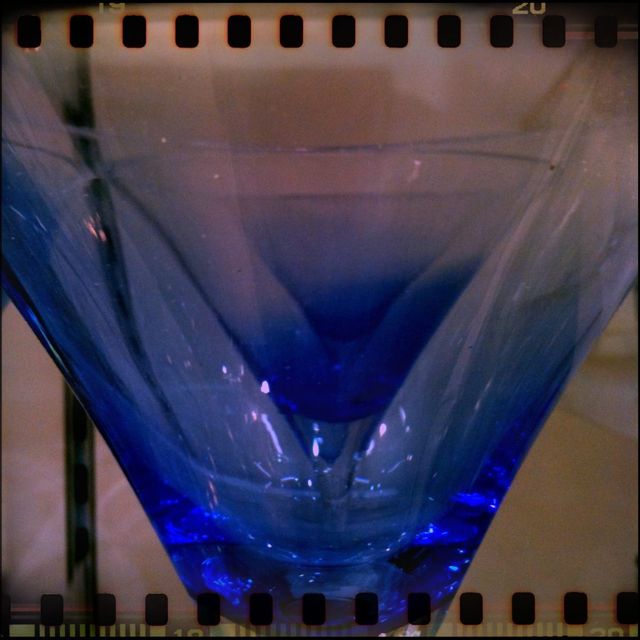
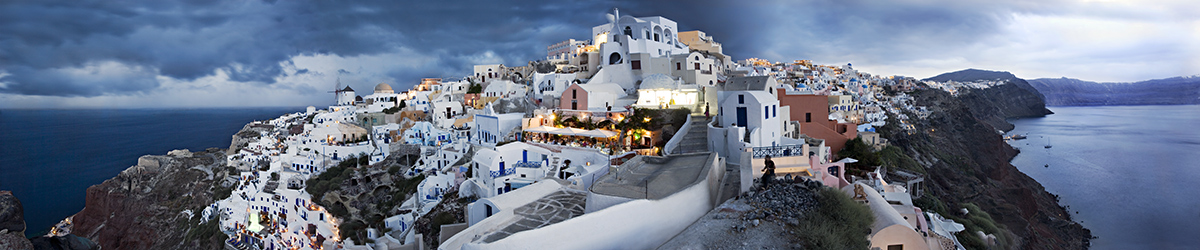
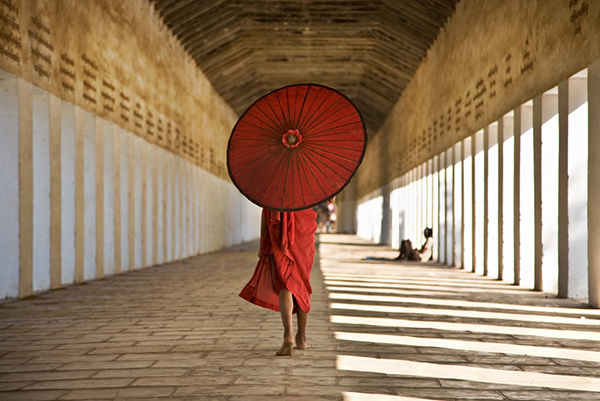
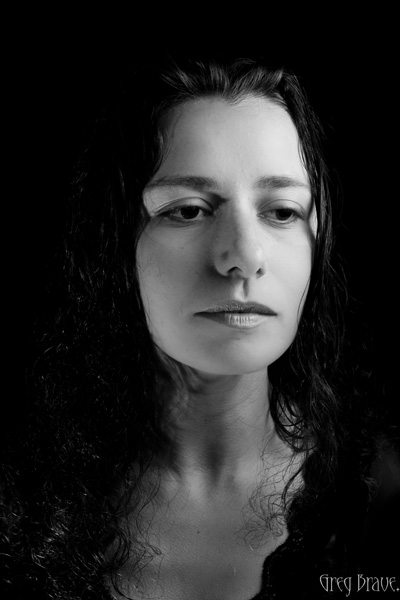
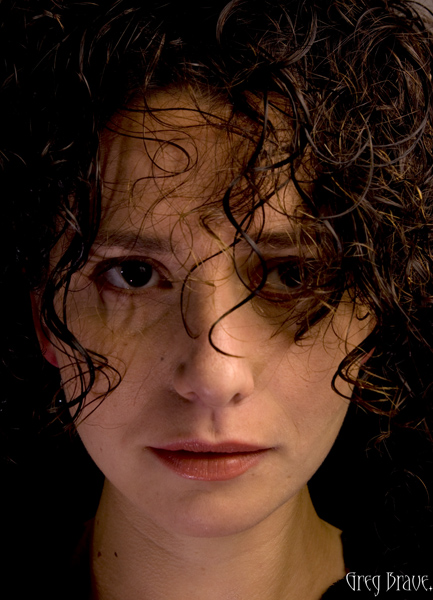
Photograph by Jairo Abud. Click on the photo to enlarge.
Which subjects are your favorite to photograph?
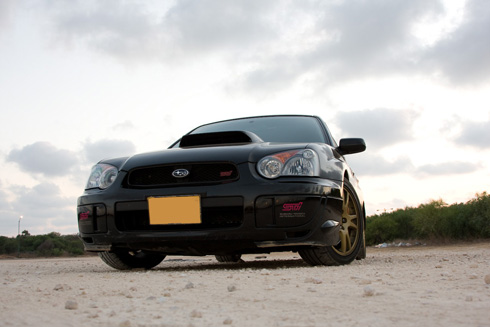
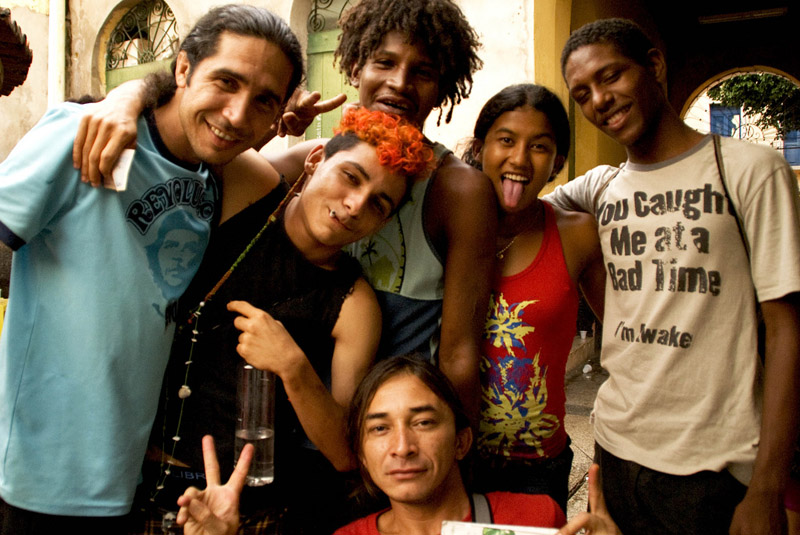
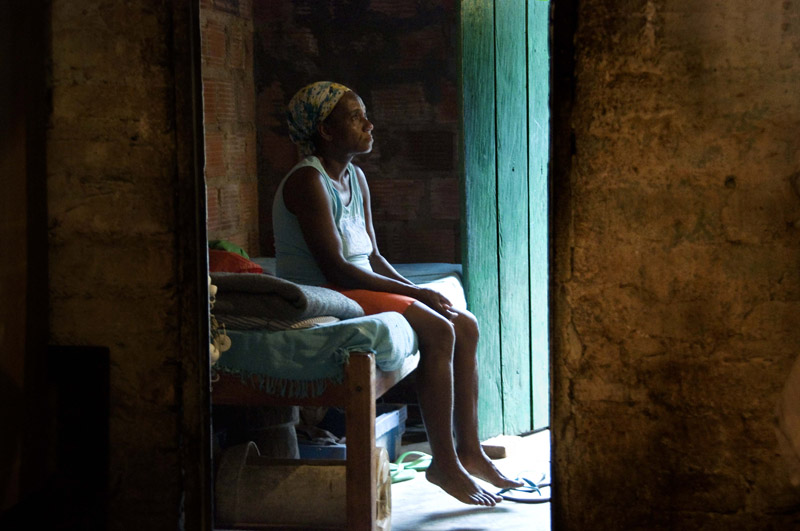
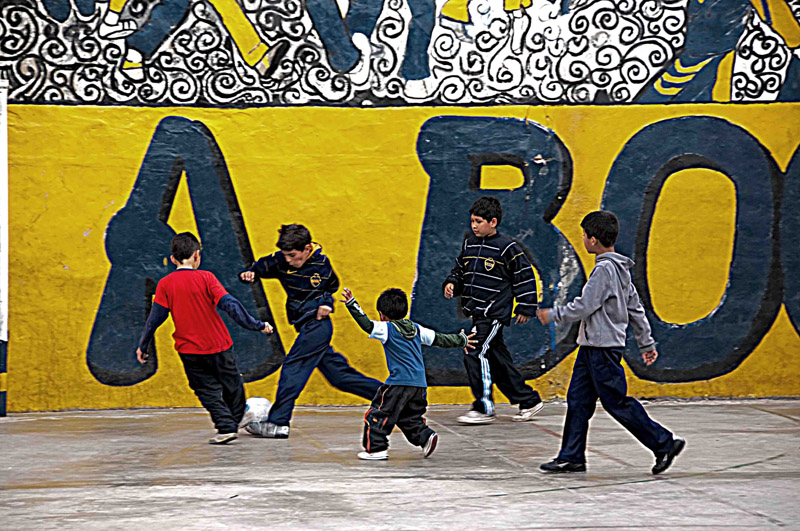
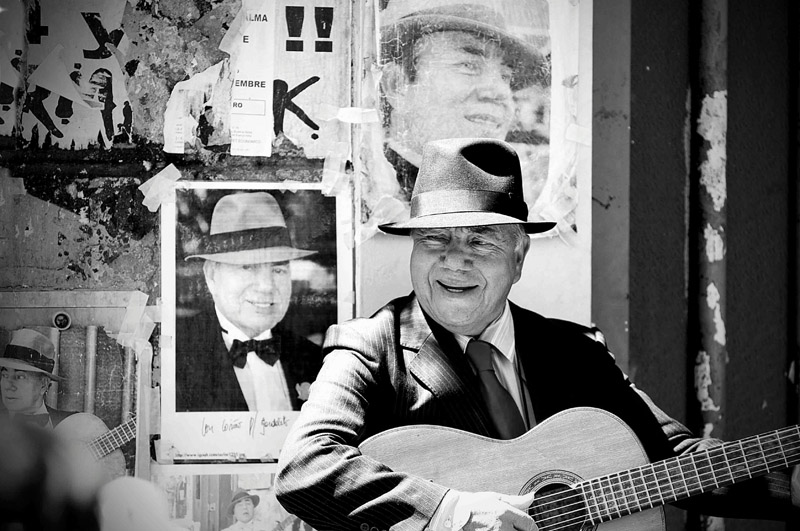
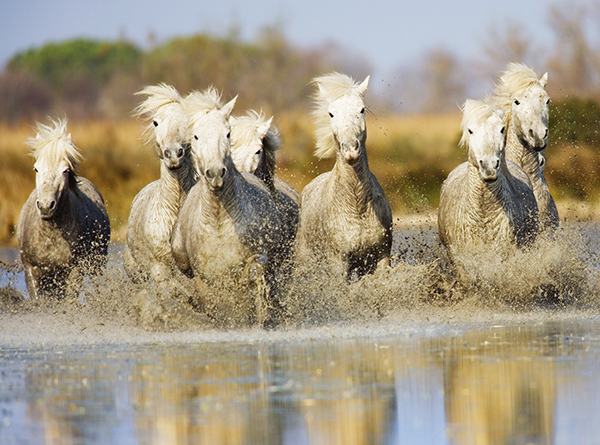
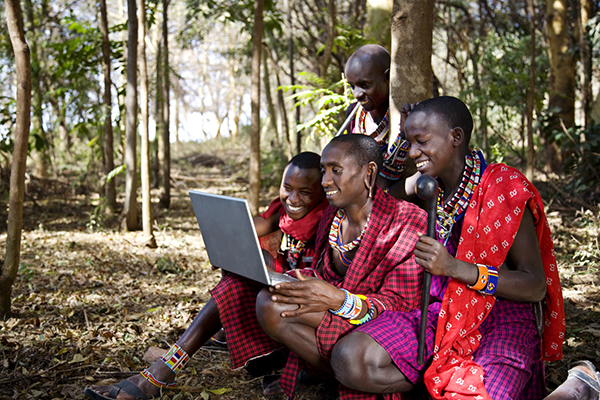
I would say I’m a people’s photographer. I always like to see a human as subject when composing the whole photo scene. I like to take pictures in Sao Paulo downtown where I can compose images in which the architecture plays an important role, though the major role is played by the people of the city. As you know, Sao Paulo is the second largest city in Latin America, and you can find many different personages there – lonely people, people with sad or happy faces, and people with different life experiences. I like it when my photos try to illustrate that.

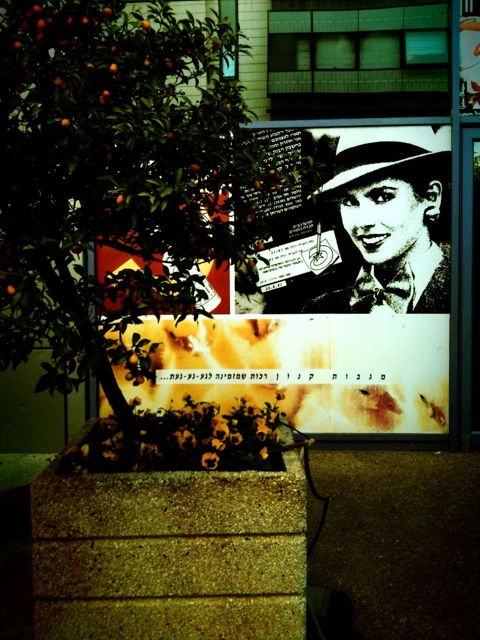
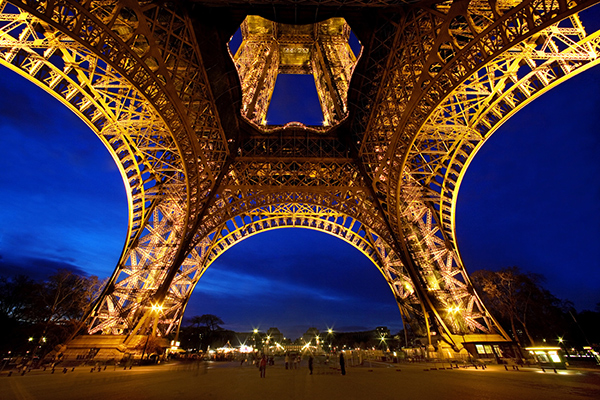
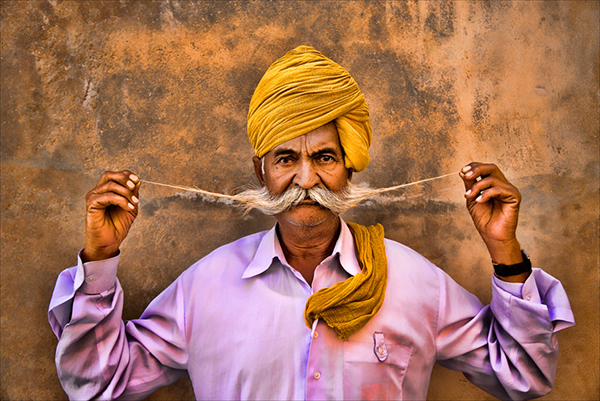
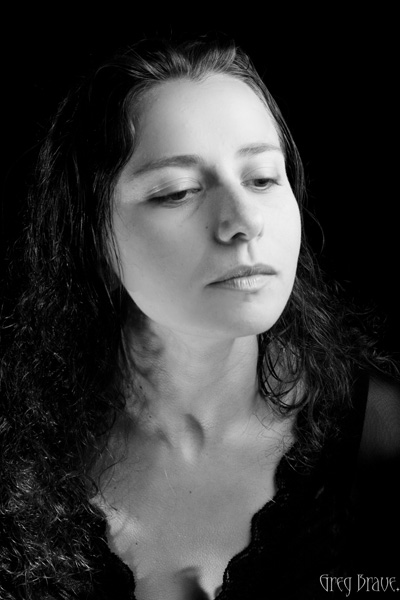
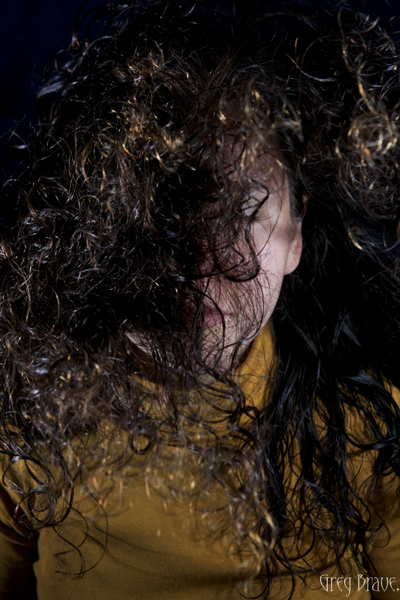
Photograph by Jairo Abud. Click on the photo to enlarge.
Is there photographers that you are inspired by? Who ?
I like Sebastião Salgado, a Brazilian photographer – he always put the human being in the foreground. And I’m also a big fan of Bresson’s art (Henri Cartier-Bresson).
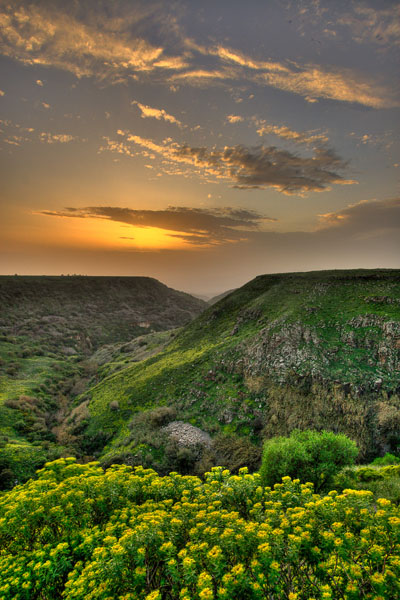
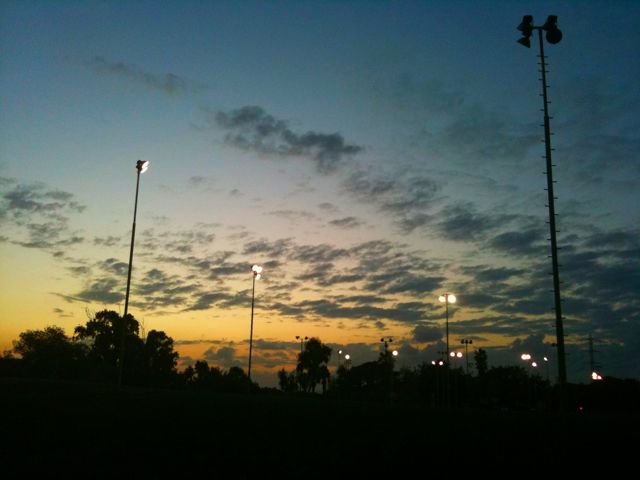
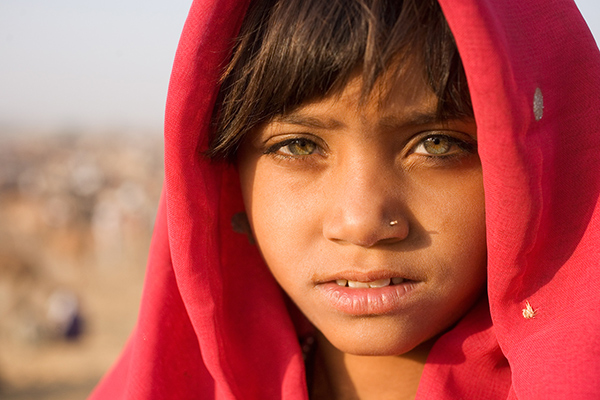
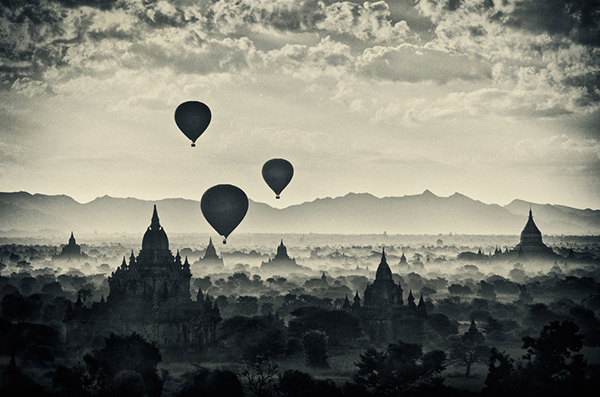
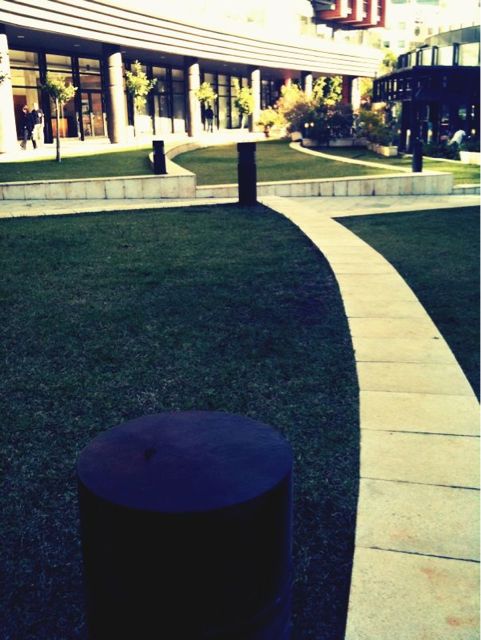
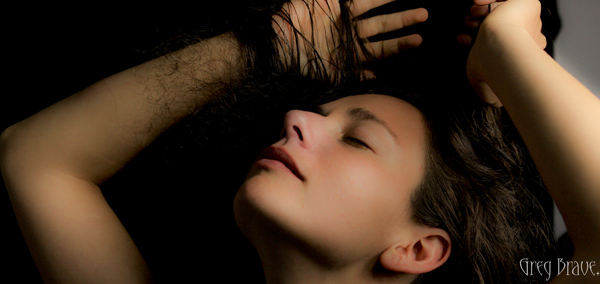
Photograph by Jairo Abud. Click on the photo to enlarge.
And now, a little more details for us, keen amateurs 🙂
What advice would you give to a beginner photographer?
I consider myself as an amateur too. And I always will be an apprentice. In my opinion the first step to take good photos is to observe and study different photos taken by different known photographers and try to make similar ones. It’s just like a painting learning process. Painters also try to emulate great painters of the past to learn their technique before painting their own art.
You can also do that as a photographer. With time, you will start to compose by yourself and to create your own style. It is a learning process. But this was my recommendation for a first step… The next, and most difficult one, is to be yourself, and take pictures the way you like taking pictures and not because other people like that style. After you have found out what you like, stop worrying about what others would say about your photos and just take them.
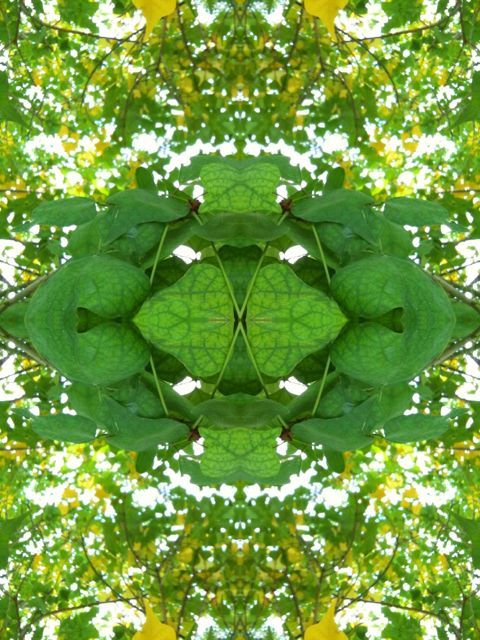
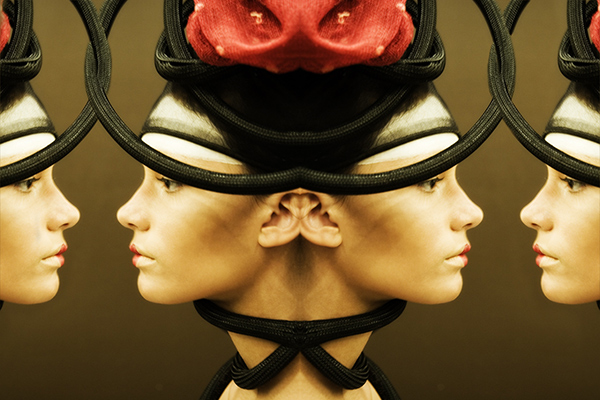
Photograph by Jairo Abud. Click on the photo to enlarge.
What photographic equipment do you primarily use?
I use a Nikon D90 with 3 different lenses: Tamron 10-24mm for landscapes, a 18-200mm for general purposes and a 80-200mm for photographing people. I also believe that good equipment is fundamental for you to improve your photos.
Other important thing: you have to know your equipment really well, and have control over it, to have the camera as an extension of yourself. My next camera will be a full frame, for sure.
I also use Photoshop CS4 for processing – especially for contrast and minor adjustments.
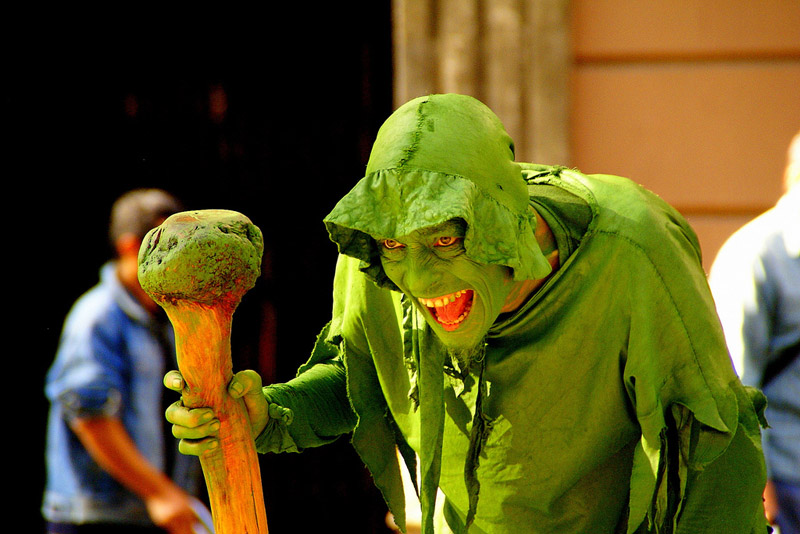
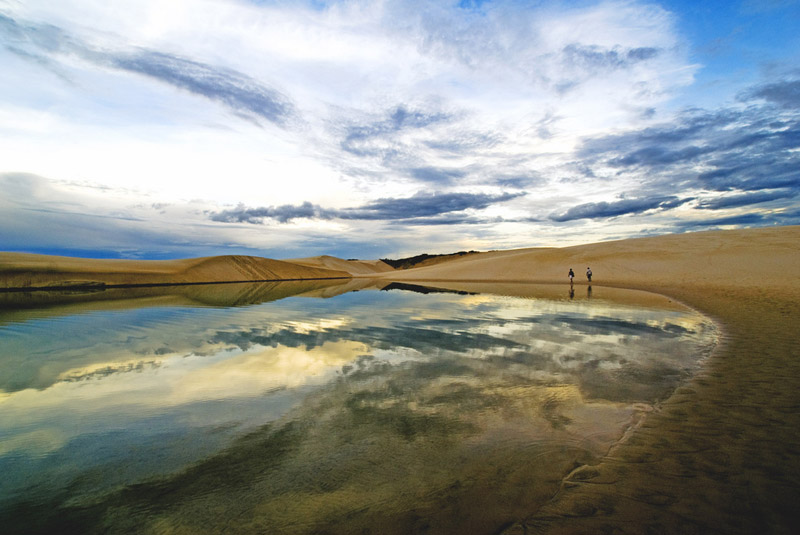
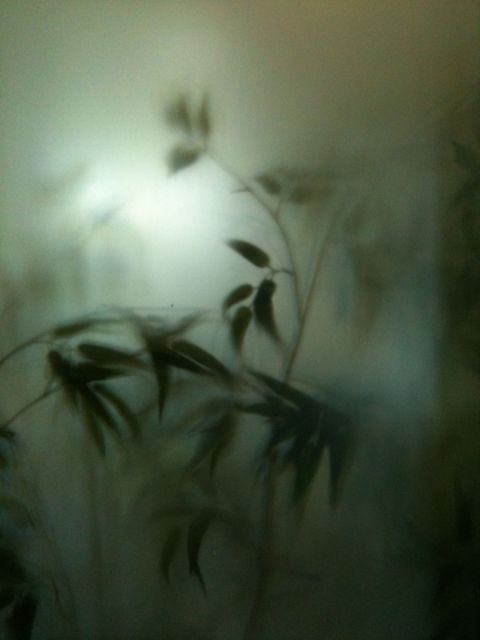
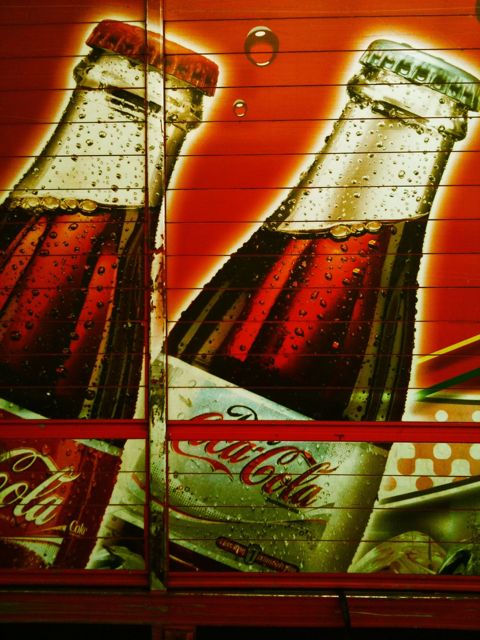
Photograph by Jairo Abud. Click on the photo to enlarge.
Could you tell me a little bit about your typical photo-shoot?
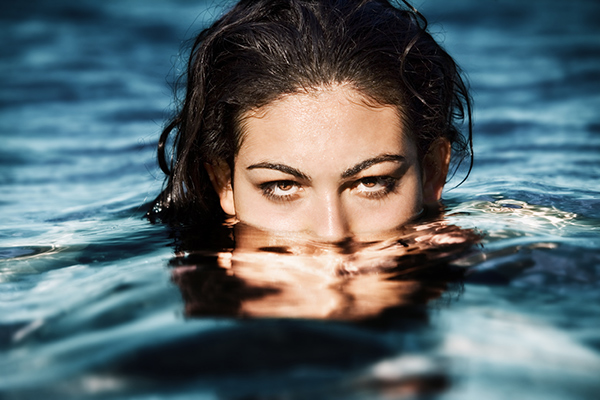
I always invite friends to go out and take photos. After a couple of hours we take a break in a coffee shop and start to look at each other’s photos. That’s very interesting because you can realize that, even when you’re on the same spot, you find completely different photos among your friends.
I always try to take photos of people spontaneously, but if I see an interesting face that I would like to photograph, I ask that person’s permission and start talking to him or her to make them comfortable. And I always focus on their eyes, where the real emotion is.
Lately I’ve been trying a different way of taking photos: I don’t look at the camera display right after taking a photo – I think the movement of looking at the display will distract me and make me miss other important shots.
There is no “decisive moment” but a “decisive sequence”. After that sequence, those series of moments, you can choose the best shot.
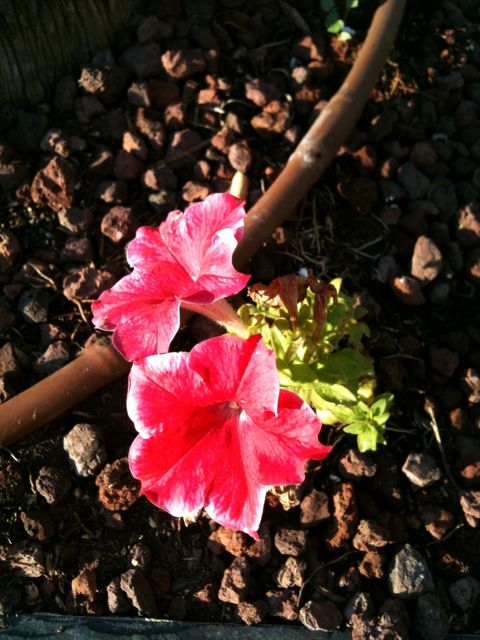
Photograph by Jairo Abud. Click on the photo to enlarge.
Thank you Jairo for your time. I wish you all the best in your future endeavors!
If you liked Jairo’s photographs and want to see more of his work, visit him at:


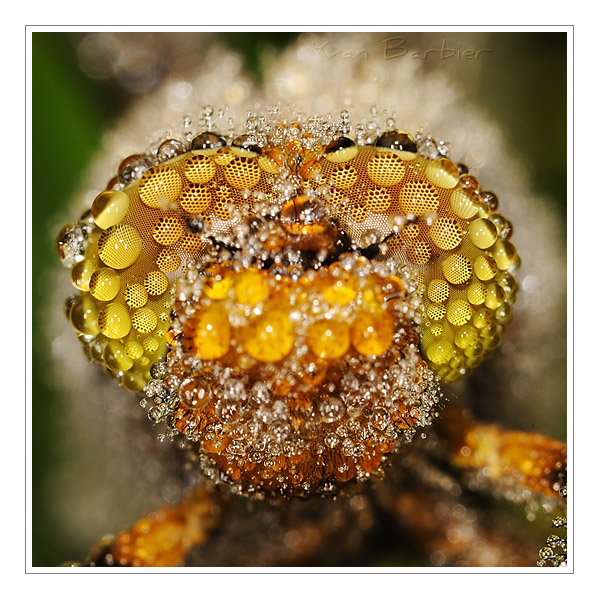 Libellula Depressa by Yvan Barbier
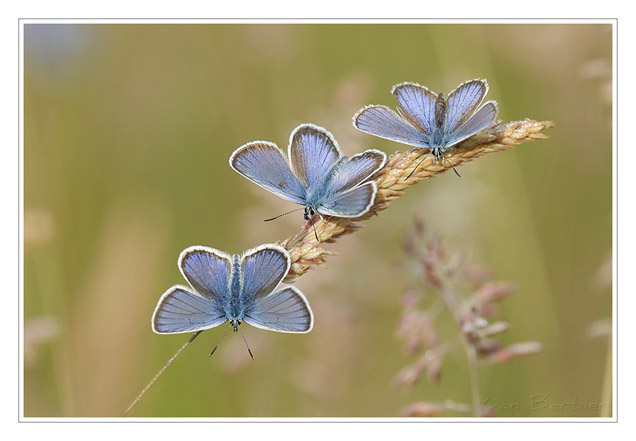 Plebejus Argus by Yvan Barbier
 Photo by Yvan Barbier
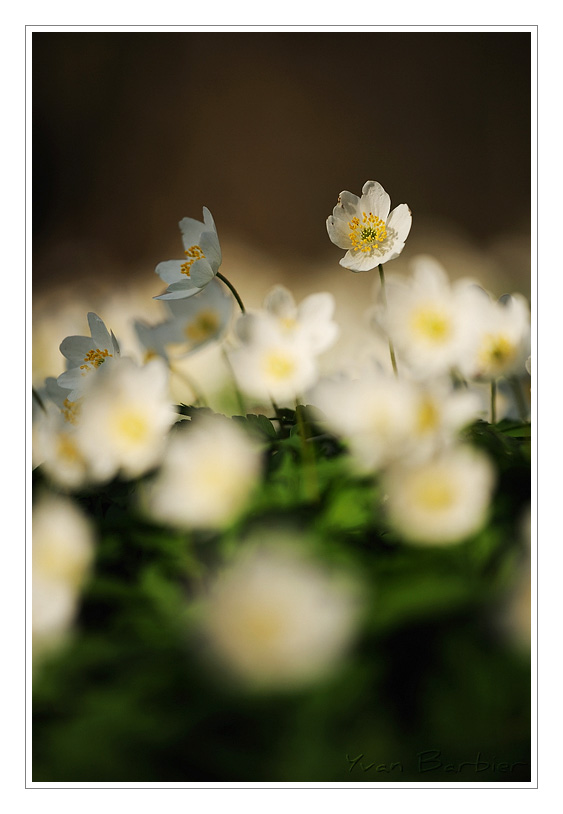 Anemone Nemerosa by Yvan Barbier