
Dear friend,
You came to this page because you want to know more about Photomatix and how to create compelling images.
Basically Photomatix takes your multiple exposures of the same scene and combines them together in a single image with High Dynamic Range, which means that in the final result the details in the very dark areas will be visible as well as details in the very bright areas.
This is very short explanation of HDR and you might want to check my article on this subject.
And now to the Photomatix.
First I would like to show you some examples of my work created in Photomatix.
Here is the three initial exposures that I used:
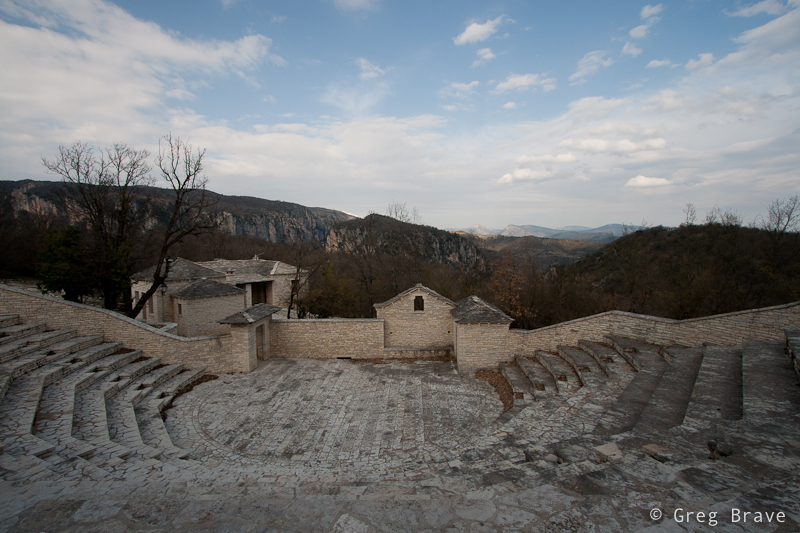
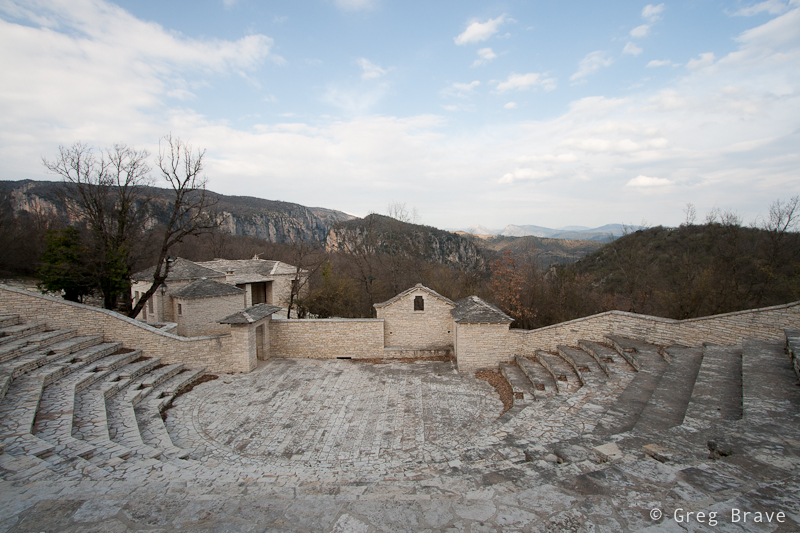
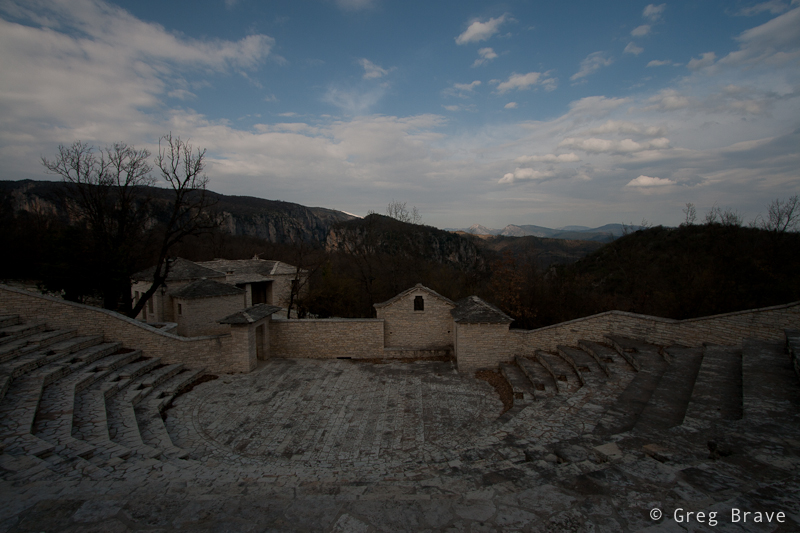
Photographs by Greg Brave. Click on the photo to enlarge.
After easy processing in Photomatix, here is the result I’ve got:
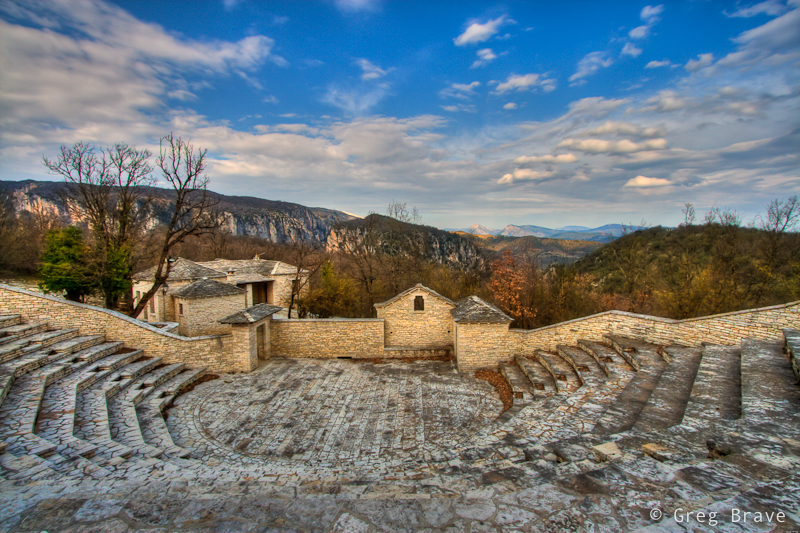
Click on the photo to enlarge.
As you can see you get wonderful image with bright and vivid colors that would make your friends go “WoW! How is it possible to get these results!?” You can also make large prints of your images and hang them on your wall for everybody to enjoy!
You don’t always have to use multiple exposures to receive great results. Sometimes you can use single RAW file, and here is a good example, of processing a single RAW file (on the left) in Photomatix and receiving a Pseudo HDR image that looks great (on the right):
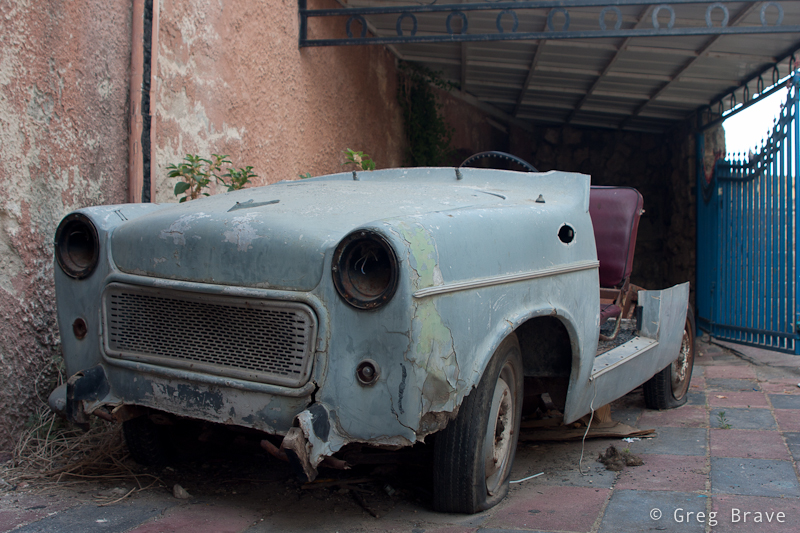
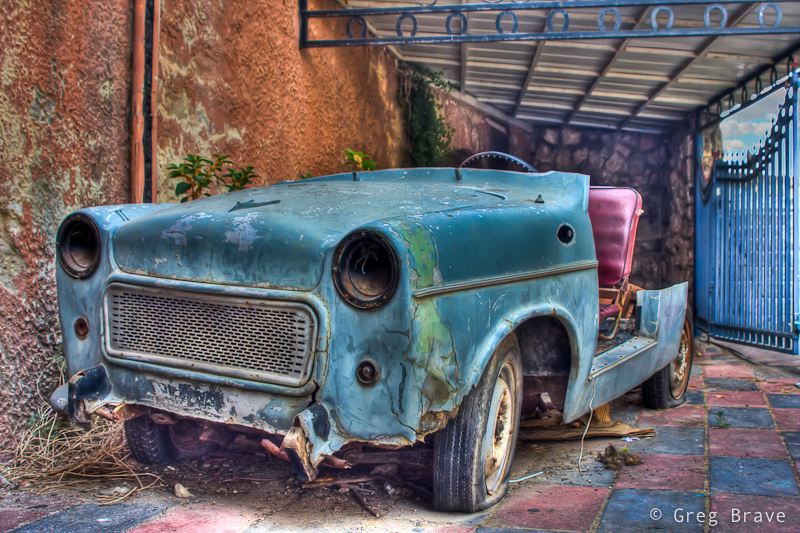
Click on the photo to enlarge.
Using Photomatix is very easy. You don’t have to be an expert to use it. I successfully created my first images after watching a short introductory video.
Photomatix comes in four packages:
- Photomatix Pro (US$ 99)
- Photomatix Light (US$ 39)
- As plugin for Photoshop (US$ 79)
- As plugin for Apple Aperture (US$ 79)
All the packages (except the Aperture plugin) can be used on MAC or Windows. When you purchase a package, the license you receive will be valid both for MAC and Windows versions. You will also receive free upgrades of Photomatix for at least one year!
At the bottom of this page you can find features comparison between these four packages.
And now for the good news! If you decide to purchase Photomatix, use this coupon code and get 15% off the price!
| Coupon Code: |
Photopathway |

When you click on the “Buy Now” button you will be redirected to the Photomatix web site where you will choose which Photomatix package you want to purchase and then click on the Mac or Windows version of that package. Then you will land on the final page where you choose your payment method and enter the discount coupon code, and when your payment is finalized you can immediately download Photomatix and start creating.
For more information about Photomatix you can visit their website, and if you decide to buy, don’t forget to use the coupon code “Photopathway” to get 15% discount!
For the advanced users here is the features comparison between different Photomatix packages:
