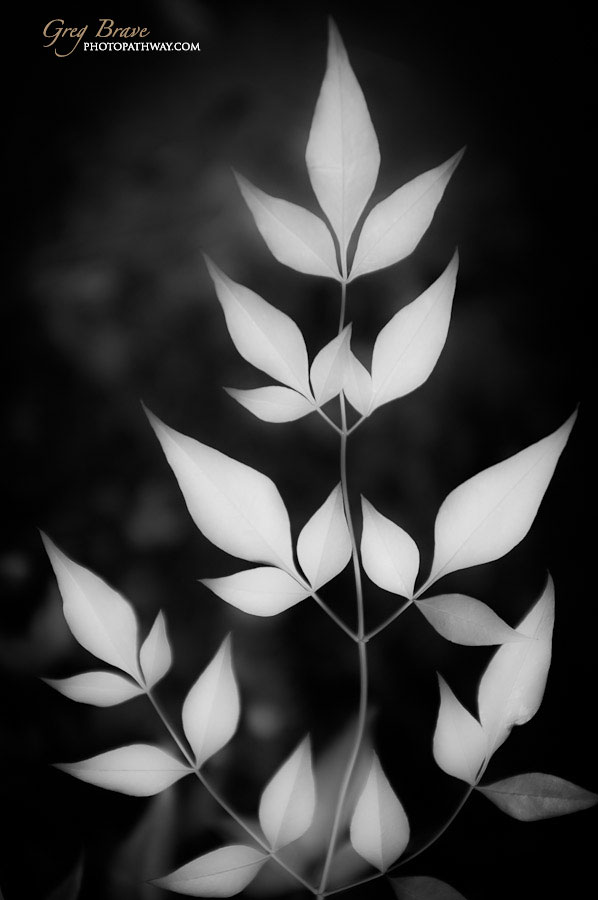
Alfred Nicholas Gardens are usually visited by photographers when Fall comes, and that’s what I wanted to do. However this year I arrived a little early and everything was still green. But it didn’t stop me from taking a few photos. Enjoy!
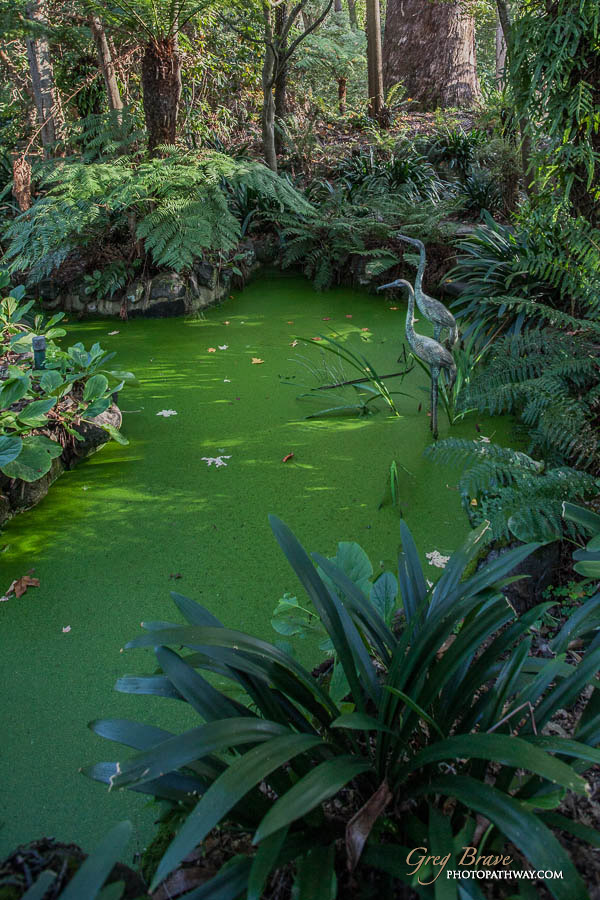
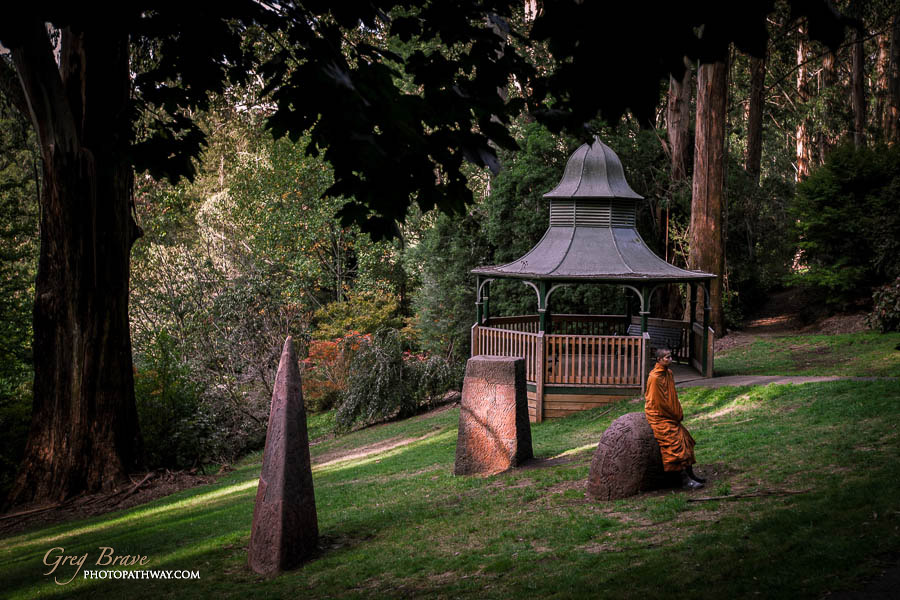
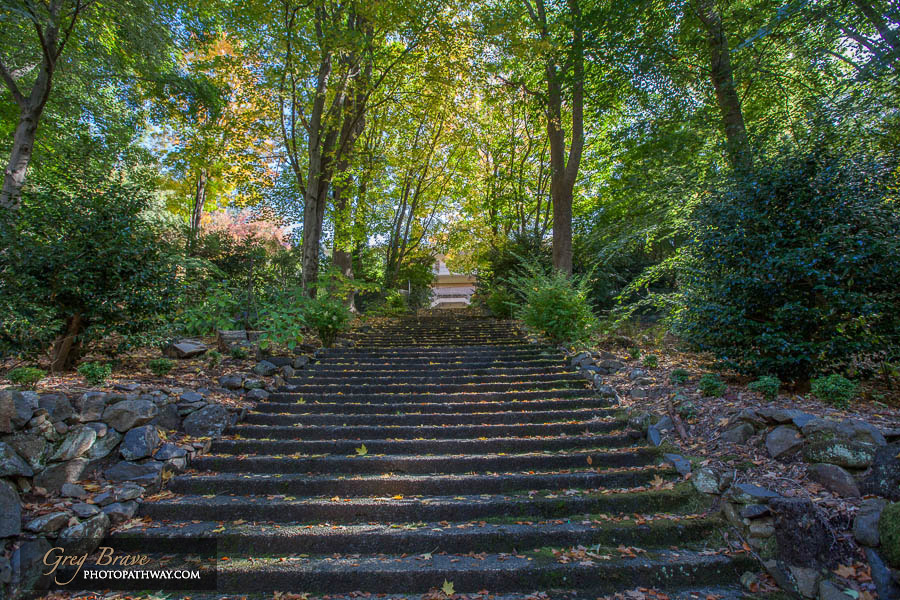

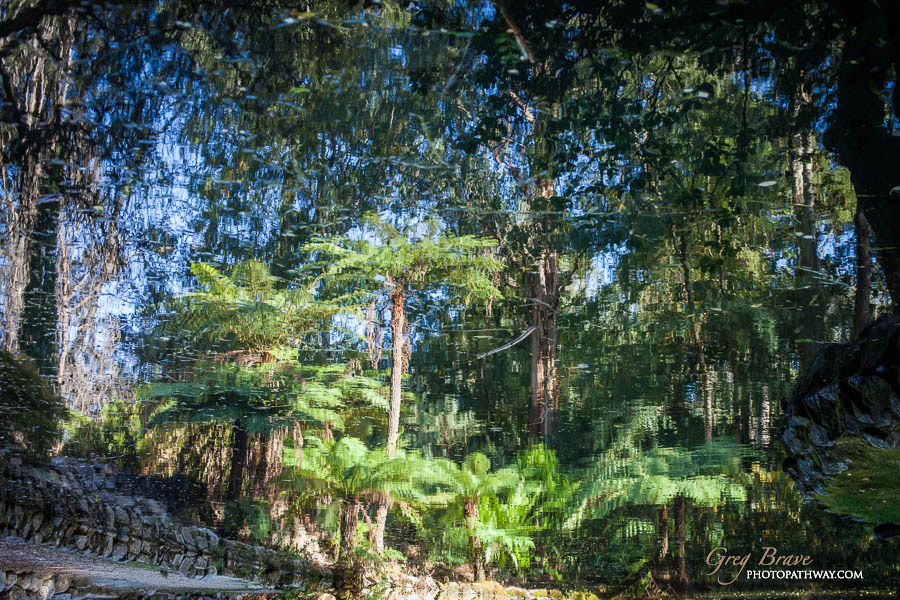

Alfred Nicholas Gardens are usually visited by photographers when Fall comes, and that’s what I wanted to do. However this year I arrived a little early and everything was still green. But it didn’t stop me from taking a few photos. Enjoy!
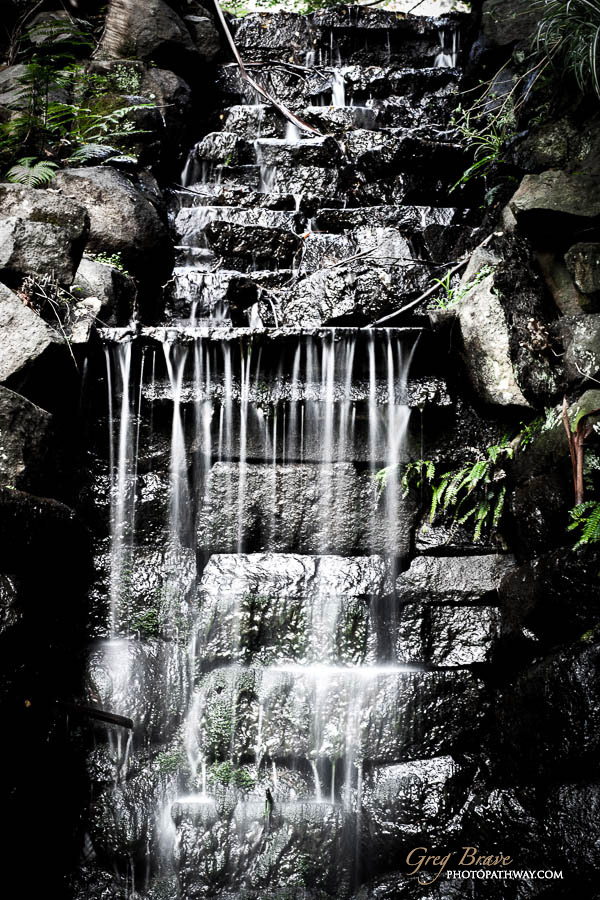
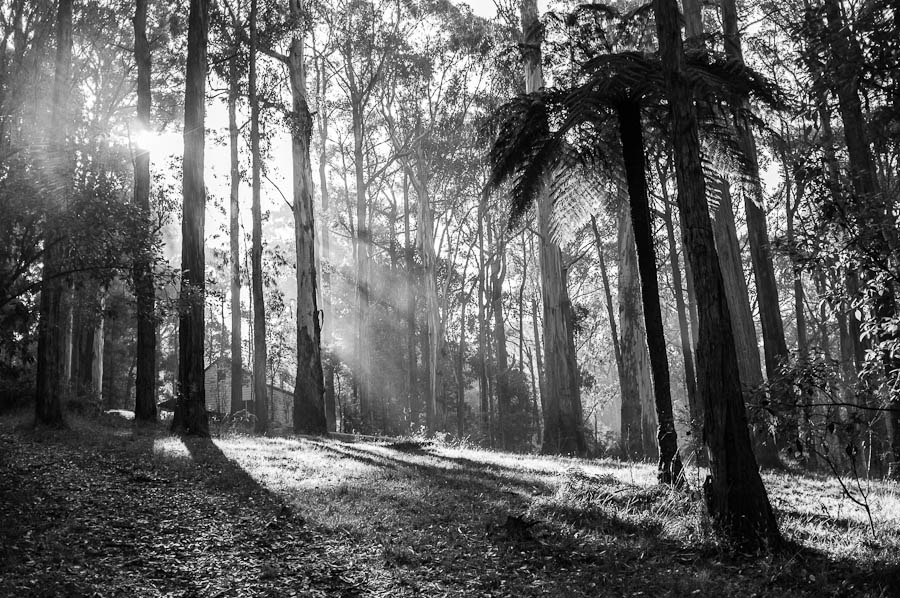
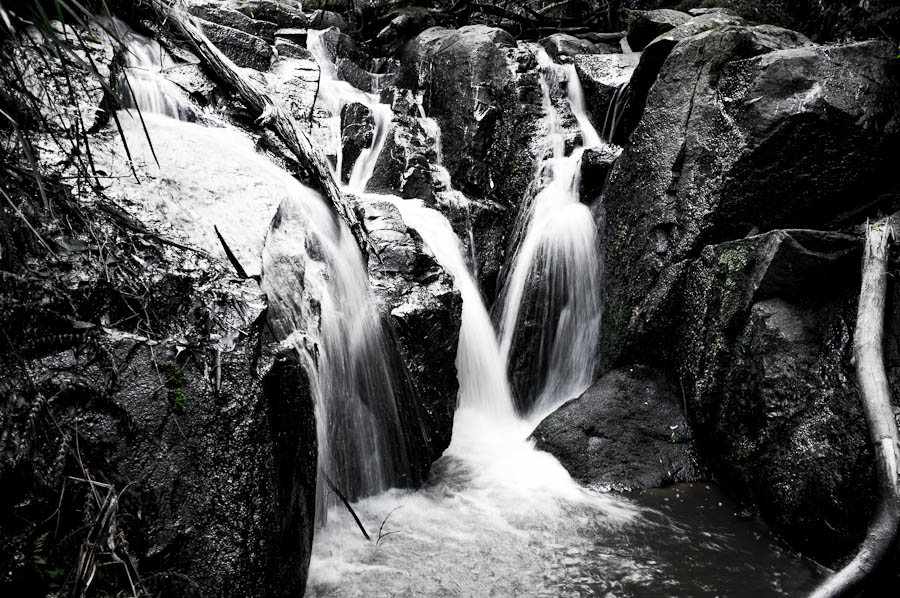
This weekend I took my family to a nice place in Dandenong Ranges here in Victoria – Olinda Falls. Thinking of it I love everything about the Dandenong Ranges forest, it is just beautiful. Having a creek with a few nice little falls is just a bonus. In short, it is a short trek leading from the car park through the forest to the Olinda creek and its falls.
We arrived there at rather late afternoon, sun was getting lower in the sky, there was humidity in the air as the creek was nearby. This perfect combination led to the photo below.
Near Olinda Falls, Victoria, Australia
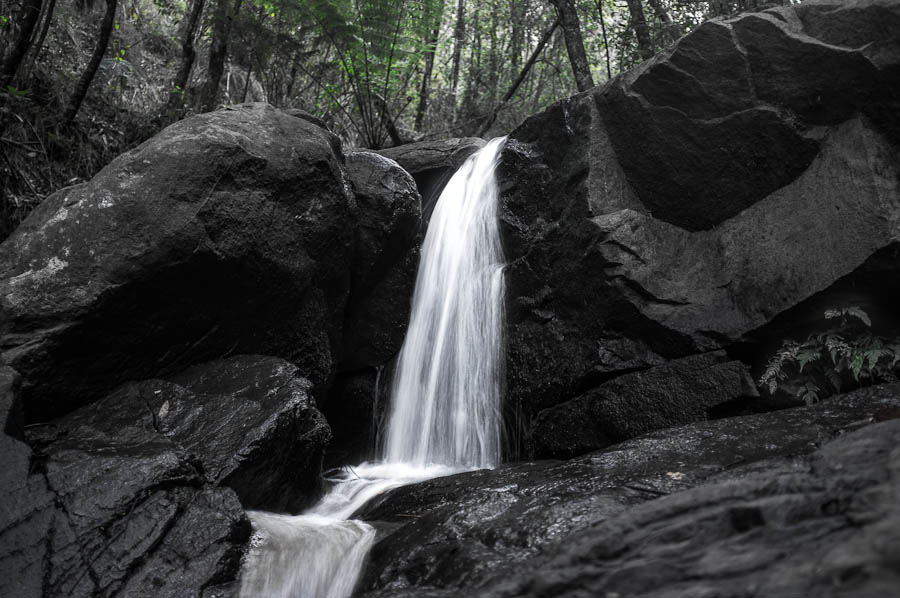
Olinda Falls 1, Victoria, Australia
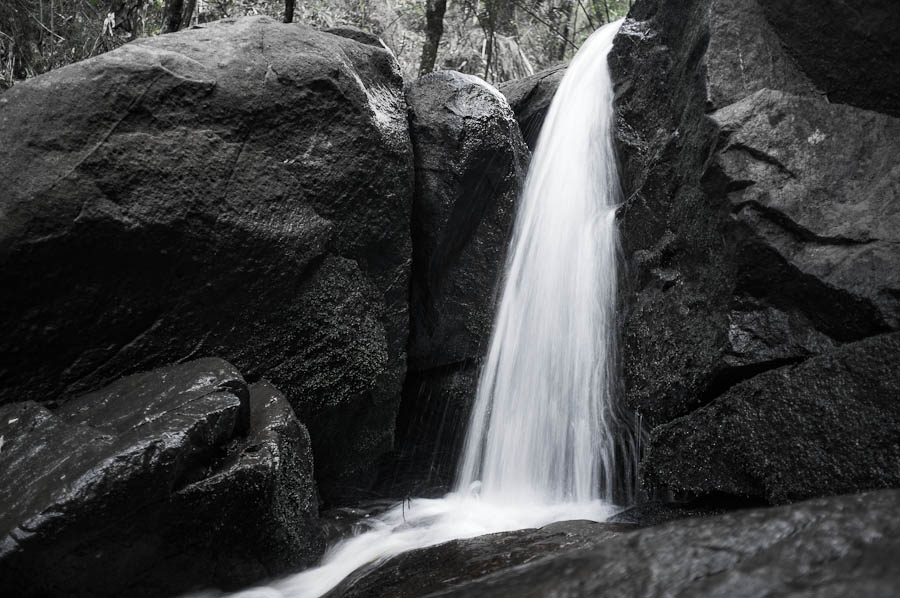
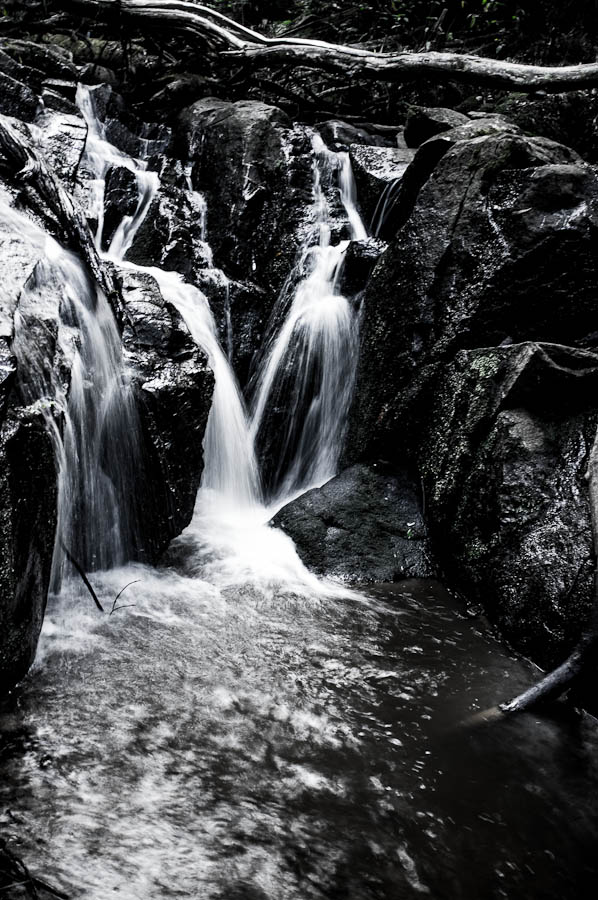
Olinda Falls 2, Victoria, Australia
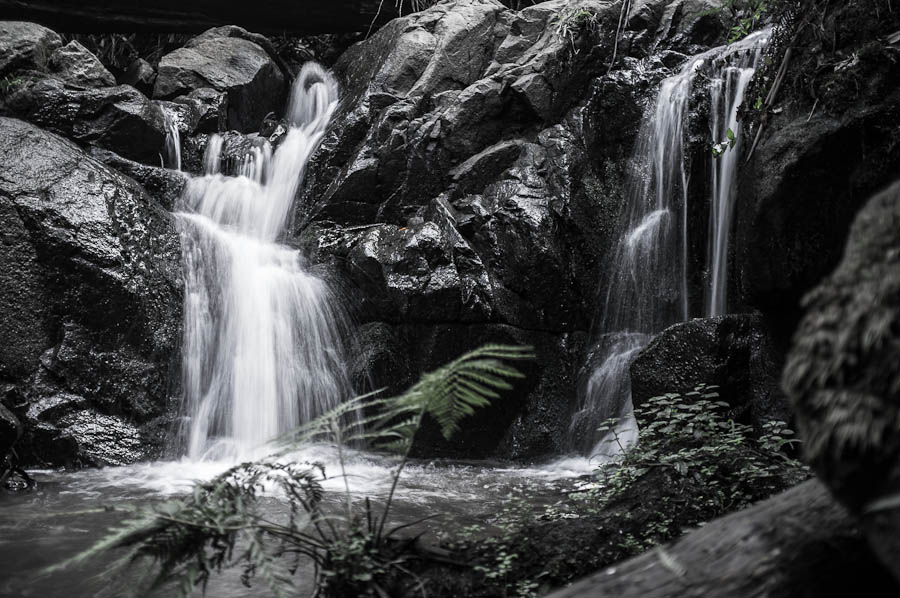
Olinda Falls 3, Victoria, Australia
Olinda Falls 4, Victoria, Australia
Olinda Falls 5, Victoria, Australia
About a week ago I found a wonderful photo website of a great photographer Tony Kuyper. In addition to sharing beautiful photographs on his website, Tony also writes Photoshop tutorials on photography post processing. And what a great tutorials they are! You need to know your way around Photoshop in order to fully benefit from them though.
For me these tutorials revealed a whole new world, and I have been playing with my photos, implementing stuff I learned from Tony’s tutorials this whole week.
Well known photographer David duChemin is currently traveling in New Zealand. Inspired by the photos he is sharing on his blog I felt the urge to go over my own photos that I took while traveling in New Zealand a few years ago.
Using the knowledge from Tony Kuyper’s tutorials I was able to significantly improve some of my New Zealand’s photos. Here, judge for yourselves.
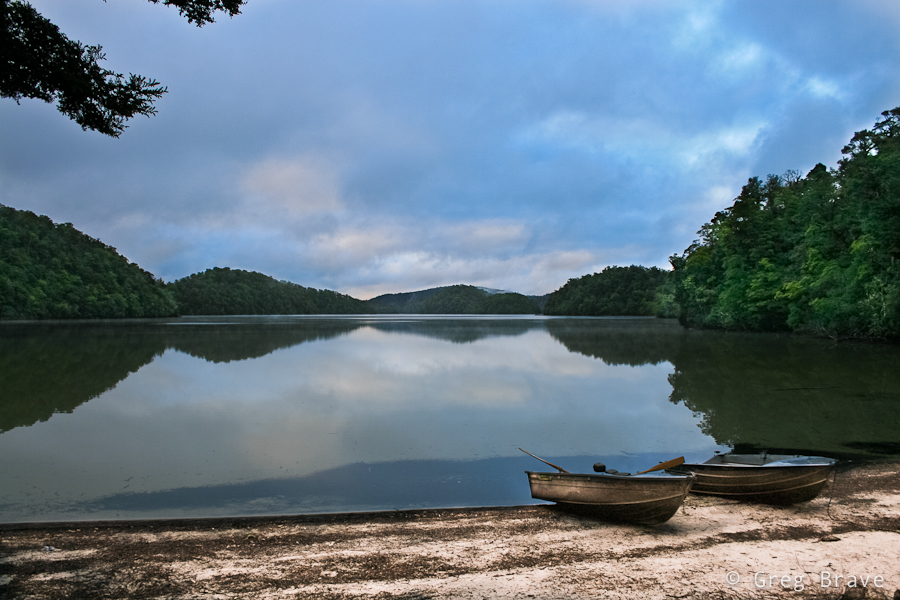
Click on the photo to enlarge.
In the photo above, the sand on the foreground and the greenery at the background were too dark. I was able to seamlessly lighten them and also to slightly increase the green’s saturation without affecting other parts of the image.
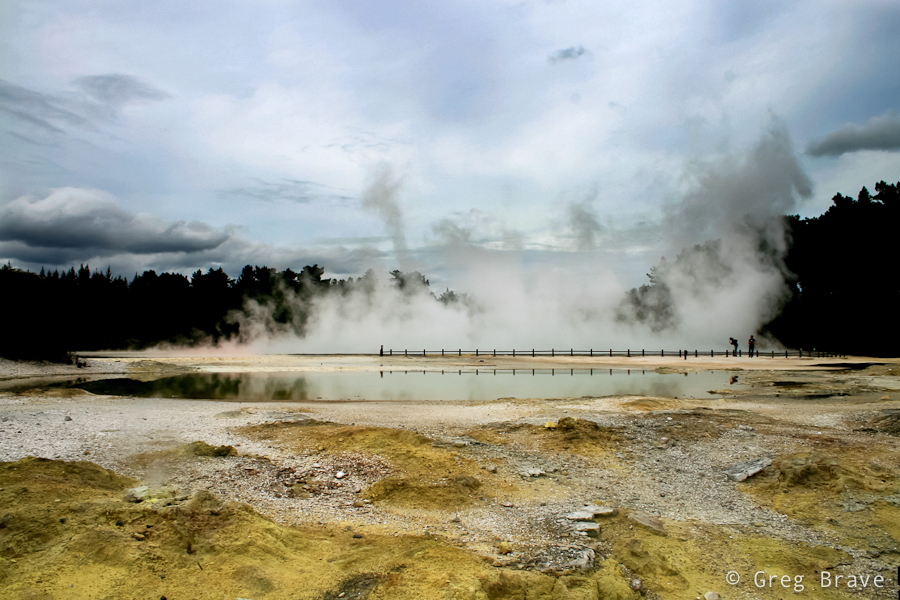
Click on the photo to enlarge.
In this image I was able to selectively increase the color saturation only where I needed to, without affecting the saturation of other parts of the image, and, what is the most important here – I could do that seamlessly. And by seamlessly I mean that you can’t see any “borders” between the parts with different saturation levels.
I hope I intrigued some of you with Tony’s tutorials. I loved them and therefore recommend them to you unless you are ideologically against post processing.
You are welcome to share your thoughts and processed photos, and
Remember, you only have to enter your name to leave a comment!
Greg