Until only very recently I thought I would never use a prime lens on a daily basis. I have great zooms (Canon 24-70 f2.8 L, Canon 70-200 f4 L, Canon 10-22 f3.5-4.5), which are sharp enough for me, and their overall quality is superb. So I saw no need for a more “restricting” piece of glass. But after laying my hands on a prime lens I realized that I was wrong.
The full description of the lens I got is Sigma 28mm F1.8 EX DG Aspherical Macro. Since I have a cropped sensor, 28mm on it is almost like 50mm on a full frame sensor.
This is not a gazillion pages technical review (for that go to dpreview.com, though I’m not sure they reviewed this one), but more of my impressions from this lens, its good and bad sides, and my additional prime-lens-related thoughts.
Lets start with why I think prime lens is a great addition to anyone’s lens collection. When I don’t have any specific photographic ideas in mind, I grab only this lens with me and go out for a walk. It is like shooting with an iPhone in a sense that you don’t have to switch lenses, or to zoom in/out to find an optimal composition. All you got is your 28mm (50 on cropped sensor). One may think that it is very limiting, but I found that it took out the “worrying” aspect, and freed my mind. I was free to think about the creative aspects of photography, and didn’t have to think about which lens to choose. If I need to zoom in, I do it by getting closer to the subject. You get the idea.
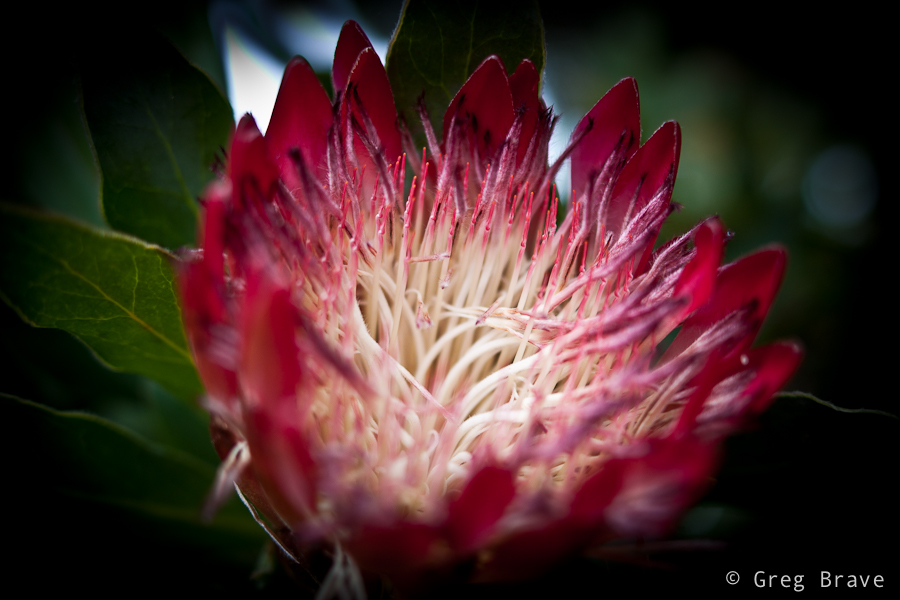
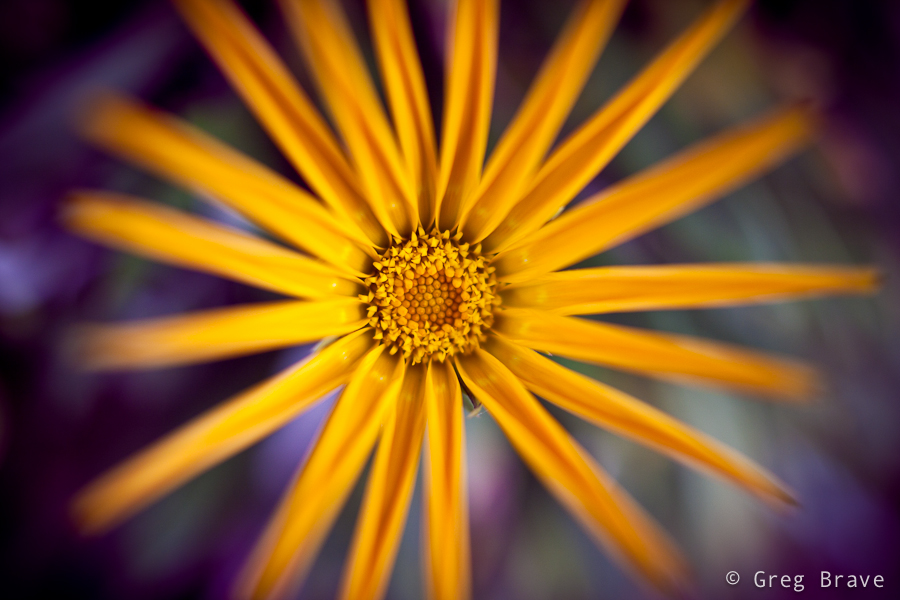
Now, about this lens in particular: f1.8 has a very shallow depth of field, which is wonderful if used consciously. Combined with amazing macro abilities of this lens it enabled me to get pretty nice shots. The two shots below were made using f1.8 and I also found them to be really sharp. I found some reviews of this lens saying that though it is very sharp, it gets softer at small f-numbers, but I didn’t notice that. Maybe I’m not that picky.
Click on the photo to enlarge.
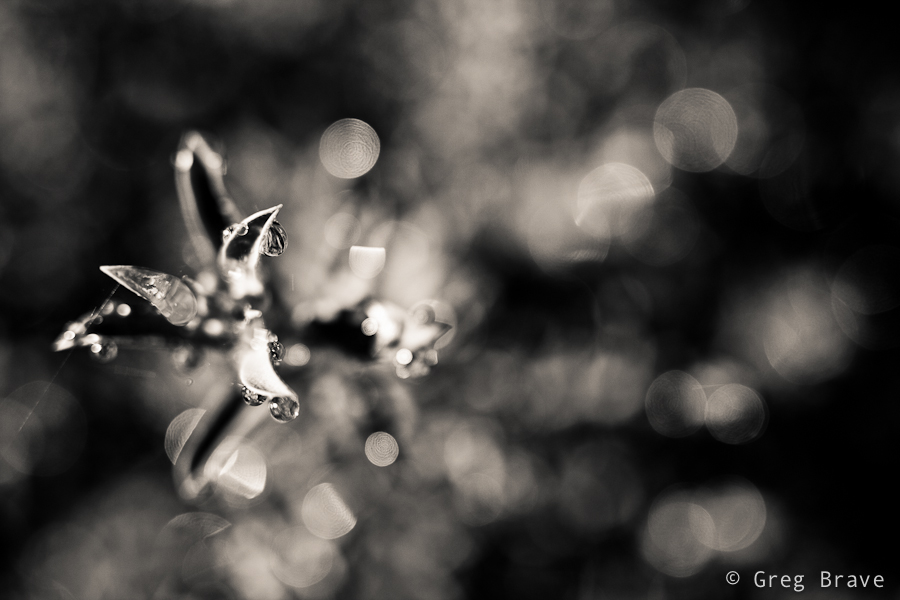
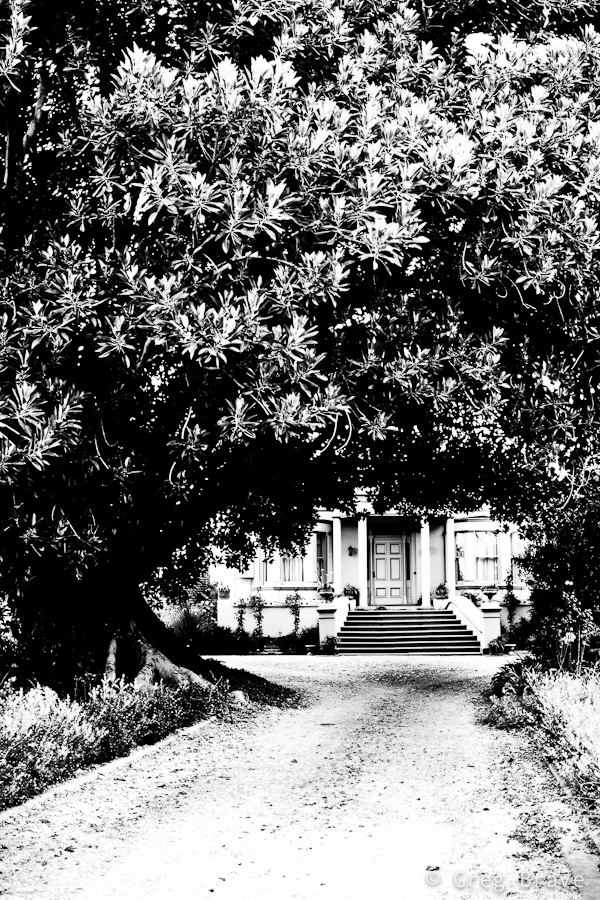
Note the nice bokeh in the b&w photo. Next photo is of ants on tree stump. It was also taken at f1.8 and shows nicely the shallow depth of field at this aperture.

Click on the photo to enlarge.
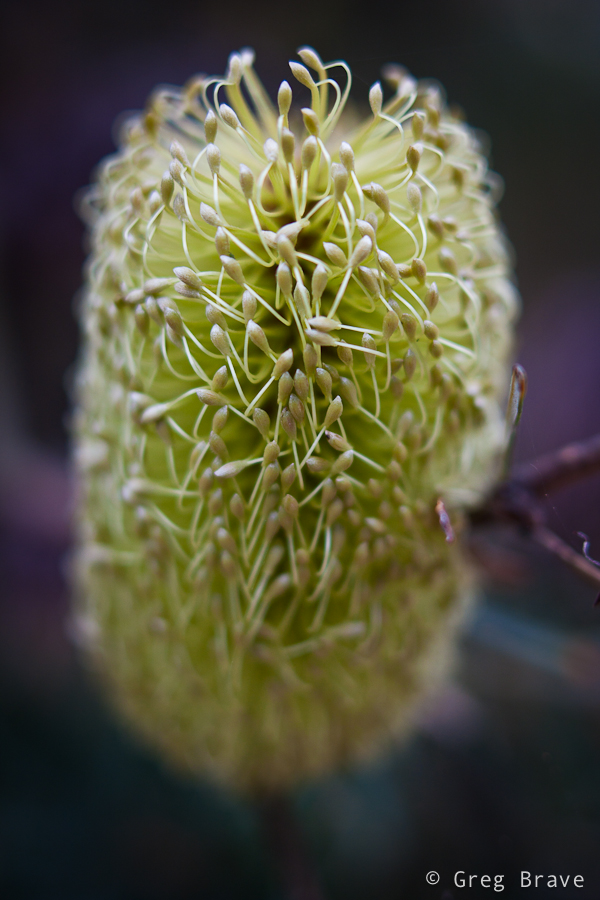
I’ve already mentioned the amazing macro of this lens – even though in the manual it says minimum focusing distance is 20cm (7.87 inch), I found that this lens just keeps on focusing no matter how close I am to the subject. I can’t say exactly what is the minimum distance, but it feels like you can bring the lens very close to your subject and still focus.
Click on the photo to enlarge.
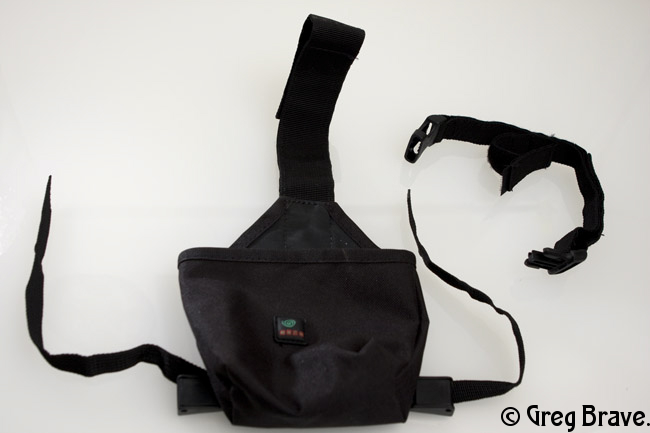
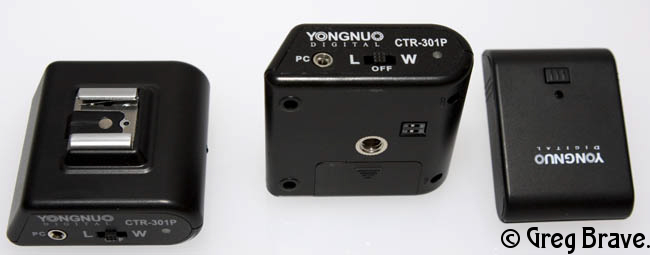
This lens is also great for general purpose photography. It is sharp, it focuses pretty fast, and it renders the colors very good.
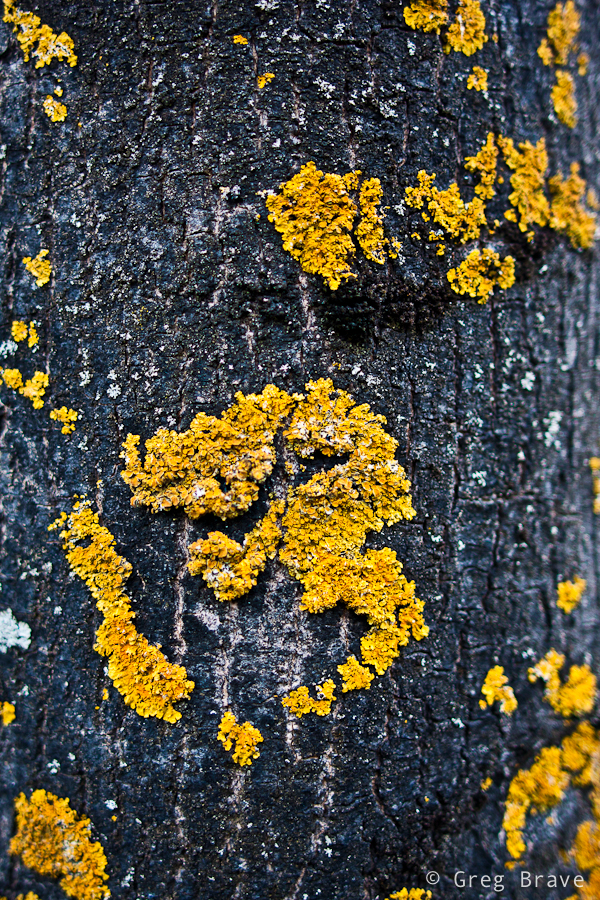
Click on the photo to enlarge.
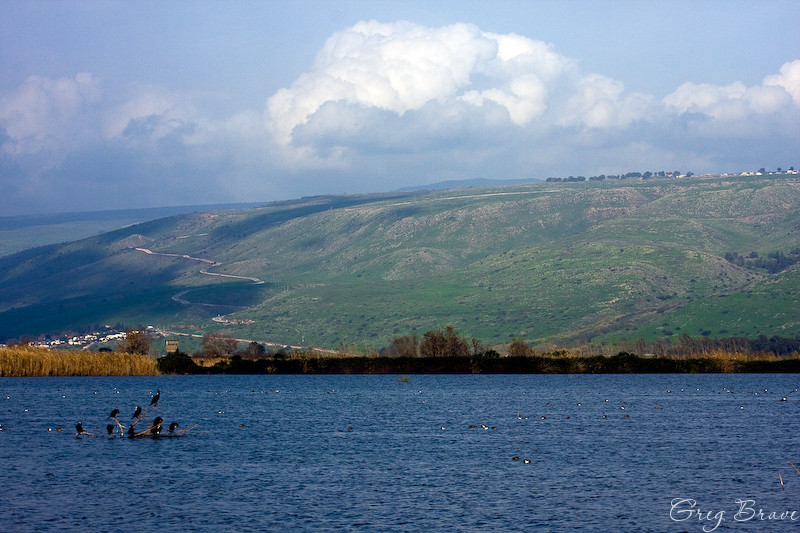
I also got to shoot a few landscapes with it, and was really satisfied with the results.
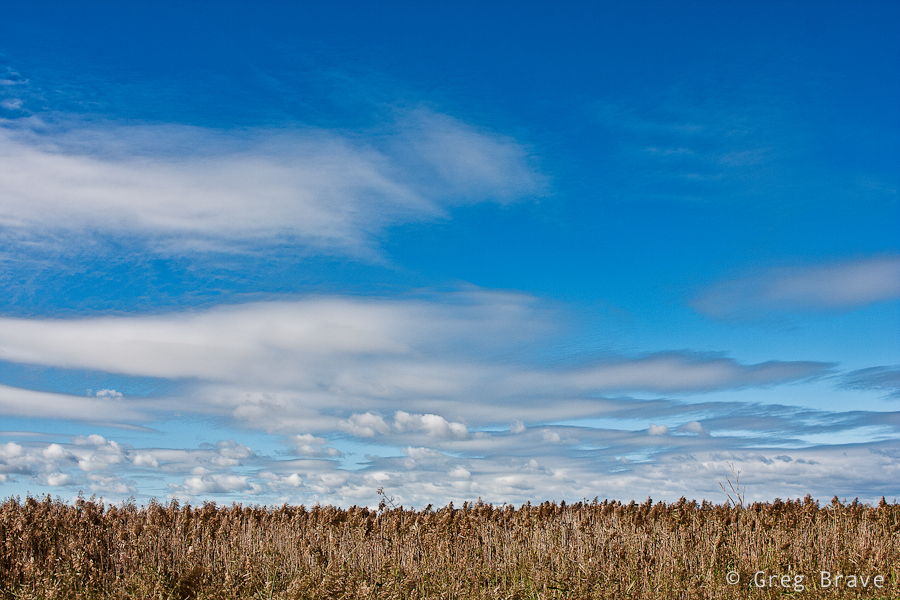
Click on the photo to enlarge.
Having said about the good qualities of this Sigma prime lens, there are a few issues that have to be mentioned.
This lens doesn’t have an ultrasonic motor which means that the focusing is pretty loud. Another thing to consider is when you want to switch from auto focus to manual (and back), you have to do it in two steps – there is a switch from AF to MF just like in canon lenses, and then you have to slide the focus ring a few millimeters. The thing is that when you are in manual focus mode and the focus ring is in the correct position, you will have to turn it to focus (hence the name 🙂 ), but when you switch to auto focus mode and leave the focus ring in the same position, it will turn automatically when the lens will try to focus, and you won’t be able to hold the lens comfortably. So you have to slide the focus ring a few millimeters and it stops moving.
There is one more thing which is a little less obvious, but I’ve noticed that this lens is more sensitive to flare than my Canon lenses. In several cases with front lighting my Canon lenses didn’t have flare but this lens had.
In conclusion I am very satisfied with this lens. I like the quality and the sharpness of the photos it produces. The only thing that bugs me a little is the noisy focus motor.
Disclaimer:
Everything written here is my opinion and my experience. All the photos in this article were taken with this lens (Sigma 28mm F1.8 EX DG Aspherical Macro) but they were also post processed in Lightroom. Post processing included subtle adjustments such as curves, clarity, and vibrance. All photos were shot in RAW format, b&w photos were converted from color (all RAW photos are in color) to b&w.
Your opinion matters! The comments section below is for you to share your experiences, and ask questions.
Till the next time, take care!
Greg.