
From time to time I get a chance to catch a nice sunset, and my regular readers are already used to my “sunset” posts, like the one from February 2011. I use the term “sunset photos” loosely as for me these are also photos made some time after the sunset, and sun is not present in the frame.
This is one of such posts but with a twist that this time I started photographing at sunset and the session seamlessly (for me) continued into night photography.
All the photos in this post were taken on the same evening and will be presented chronologically so you can get a faint feel of how the light changed.
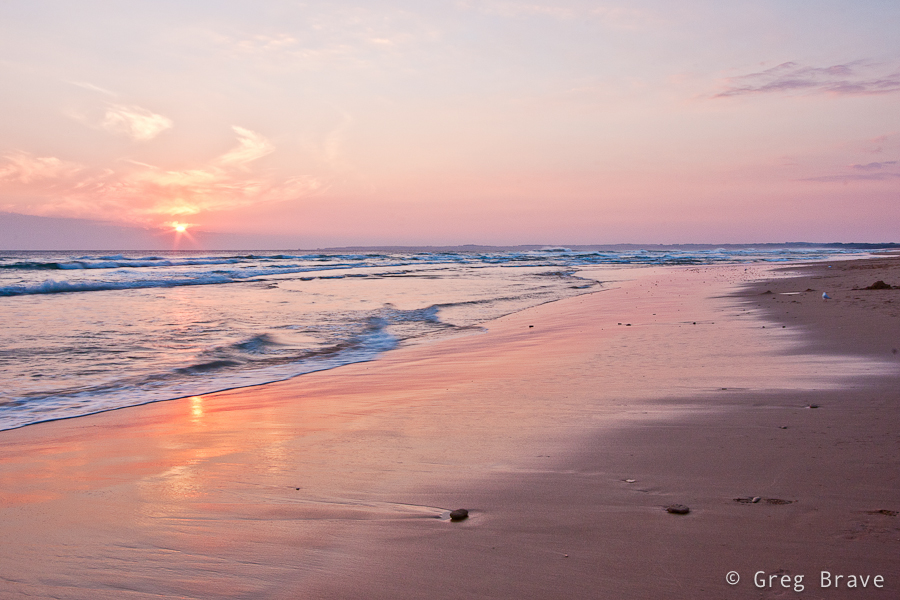
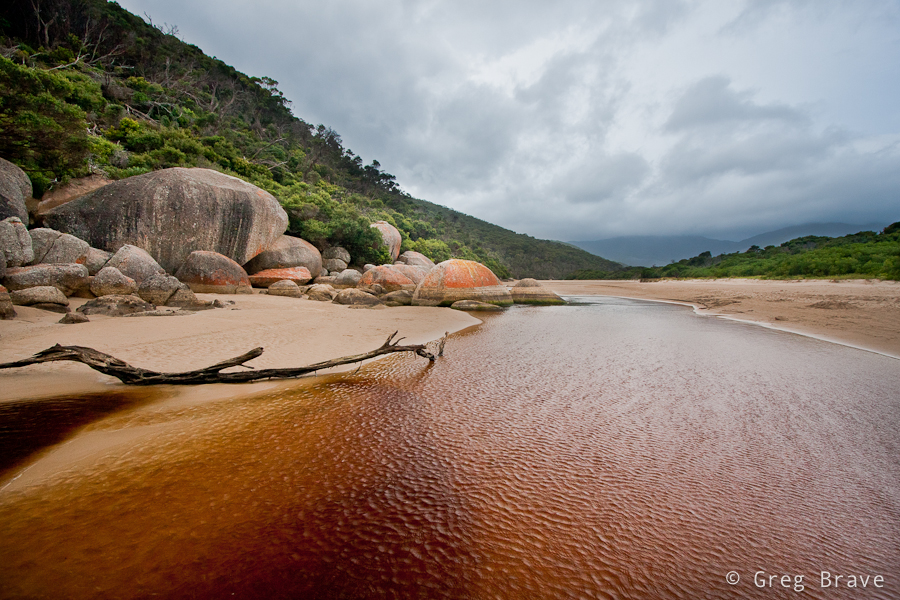
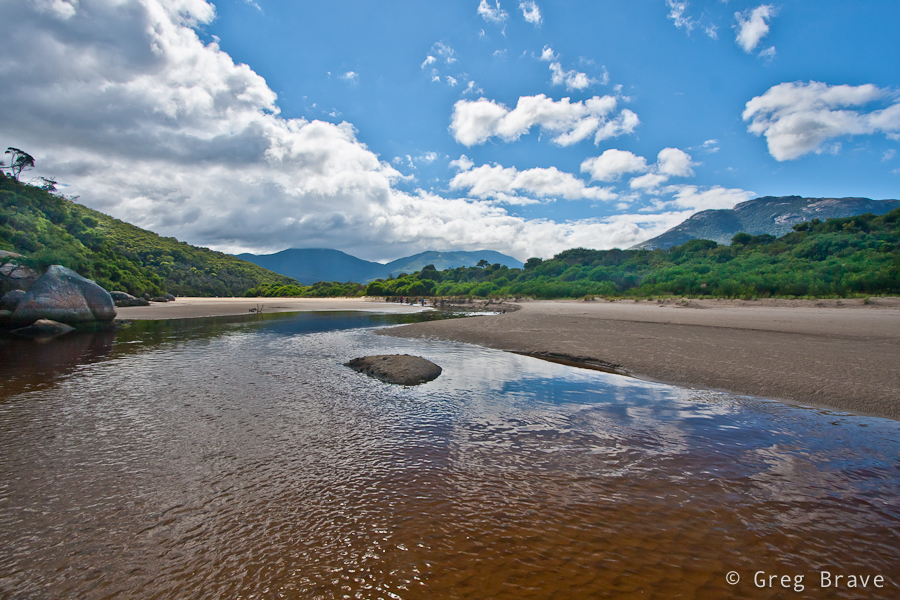
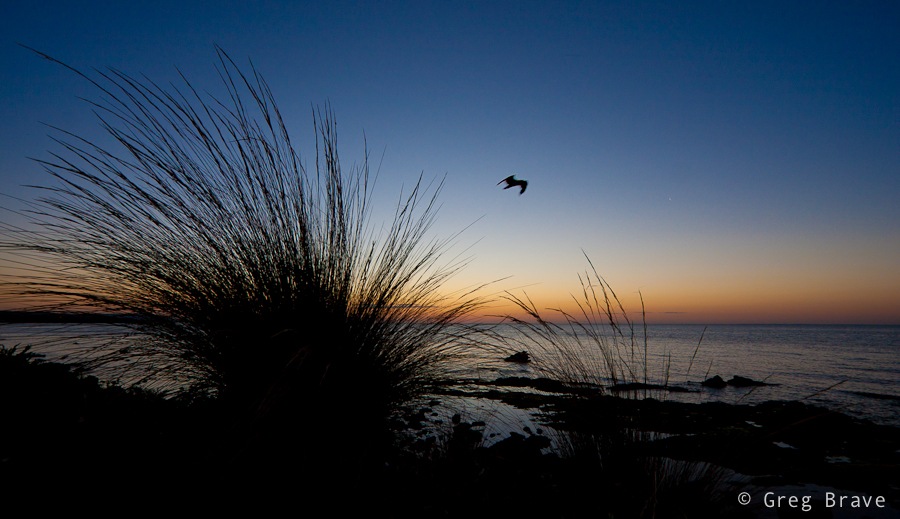
It all started, as usual, with our daily evening walk on the beach. It was raining earlier this day, and I know from experience that usually, after rain, the sunset light is beautiful, so I took a tripod with me just in case. No need to mention that my camera comes with me all the time.
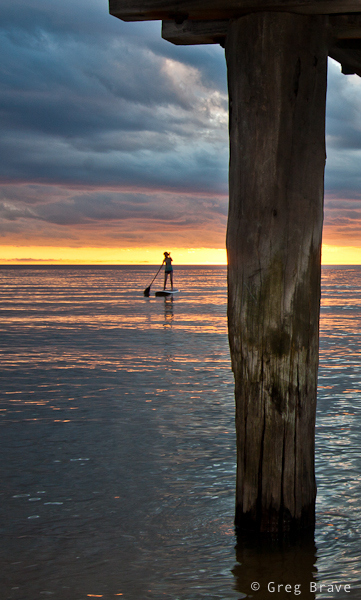
I’ve also noticed that the best time to photograph sunset on the beach (at least in my area) is during the low tide – there are these “ponds” of water left by the retreating ocean, the water is calm, and there is more room on the beach to choose location.
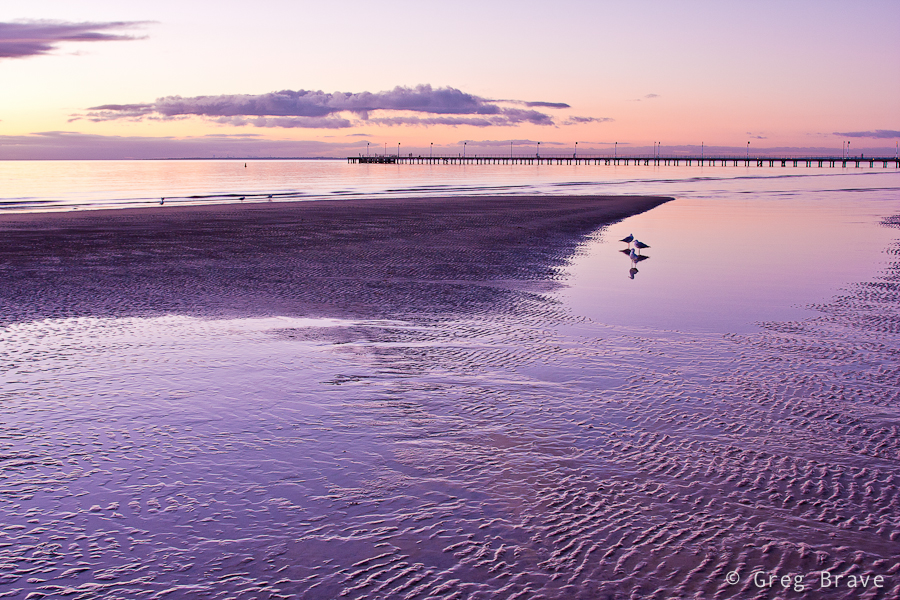
Click on the photo to enlarge.
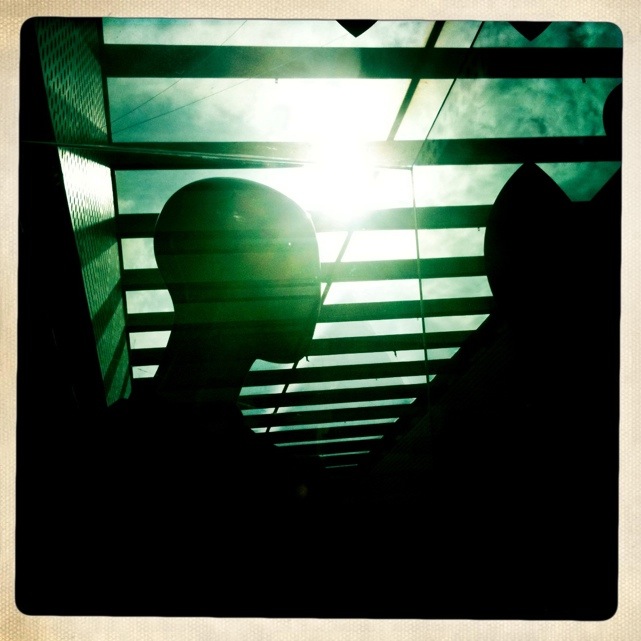
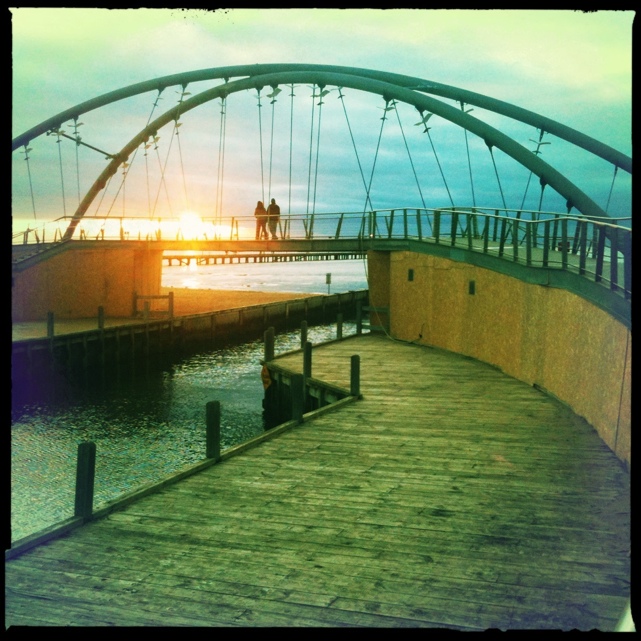
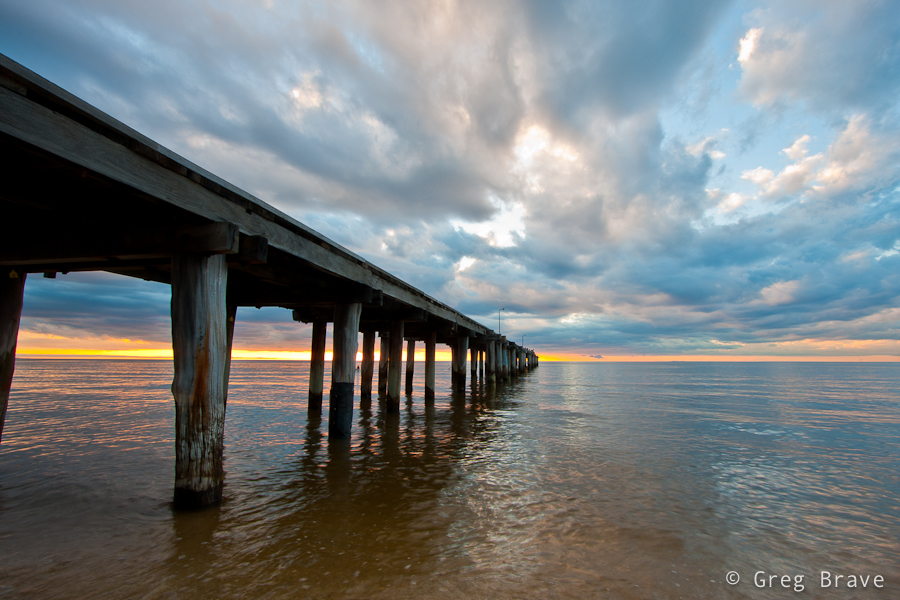
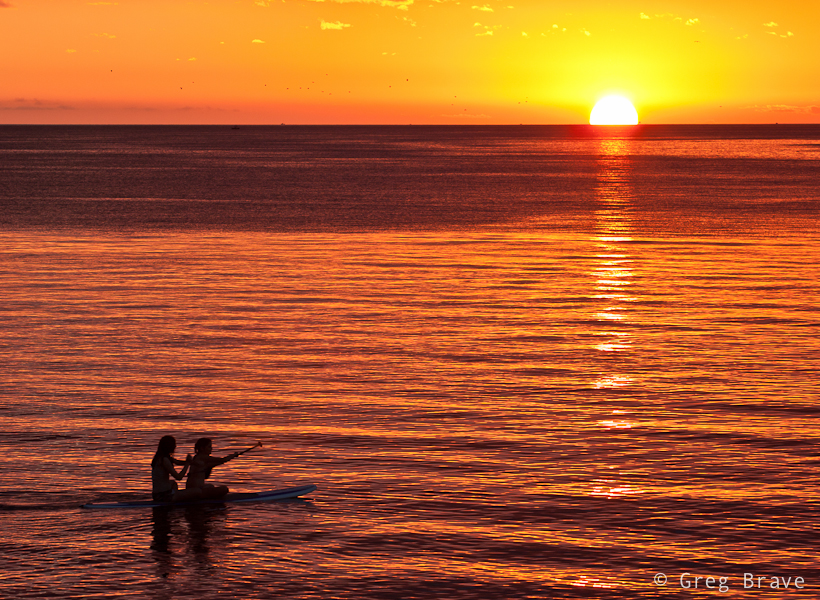
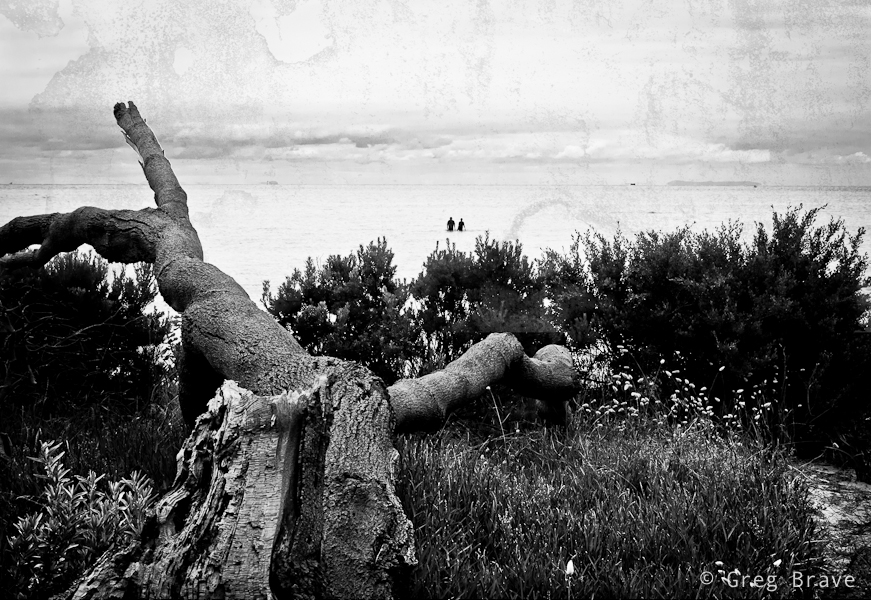
In the 10 months I live in Australia I already took hundreds of pictures of the Frankston pier. This time I thought to make it a bit more interesting, and having a tripod made the following photo possible. It took us several takes to get it right, as the light was low and thus exposure was long, so we had to be pretty steady. I converted the initial result to black and white and dramatically increased the contrast, to make Ira and me into silhouettes.
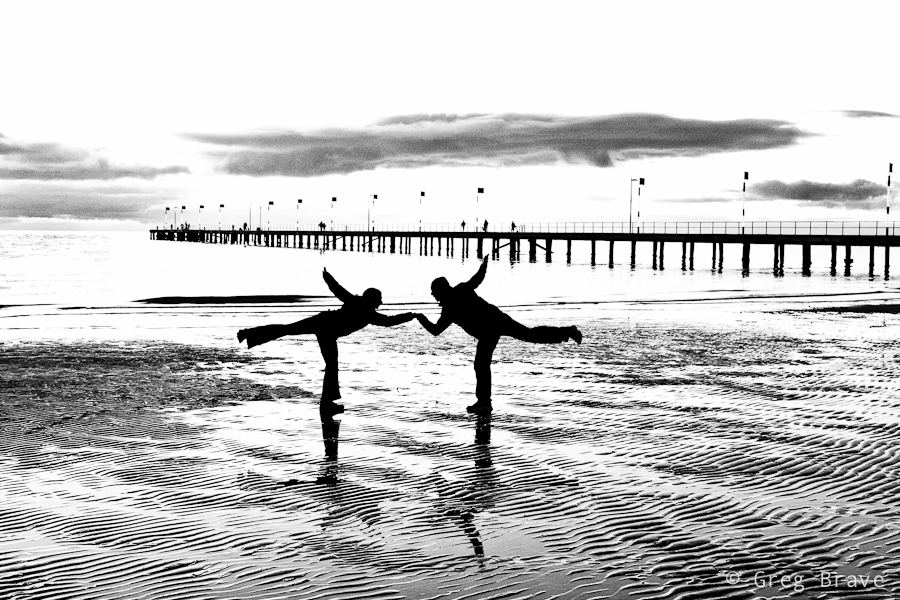
Click on the photo to enlarge.
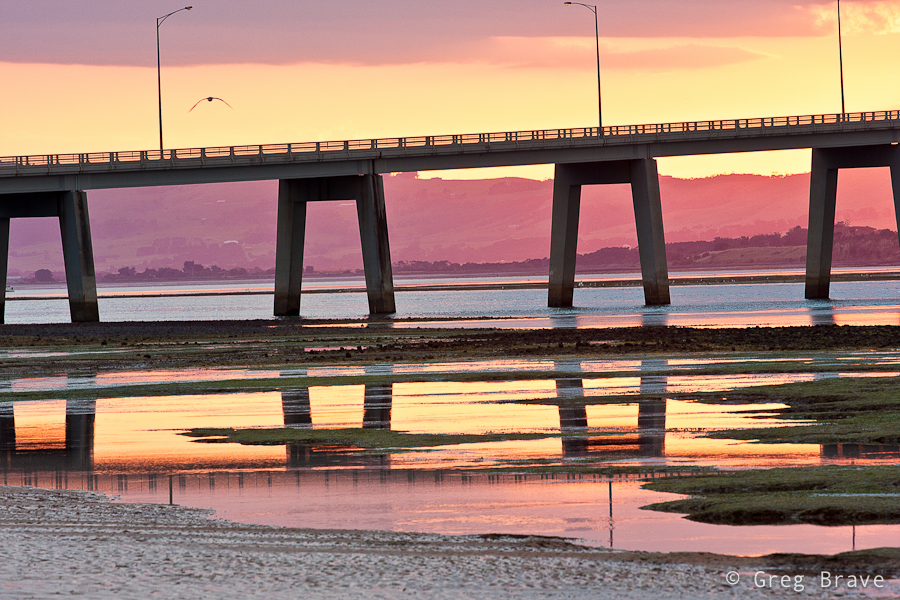
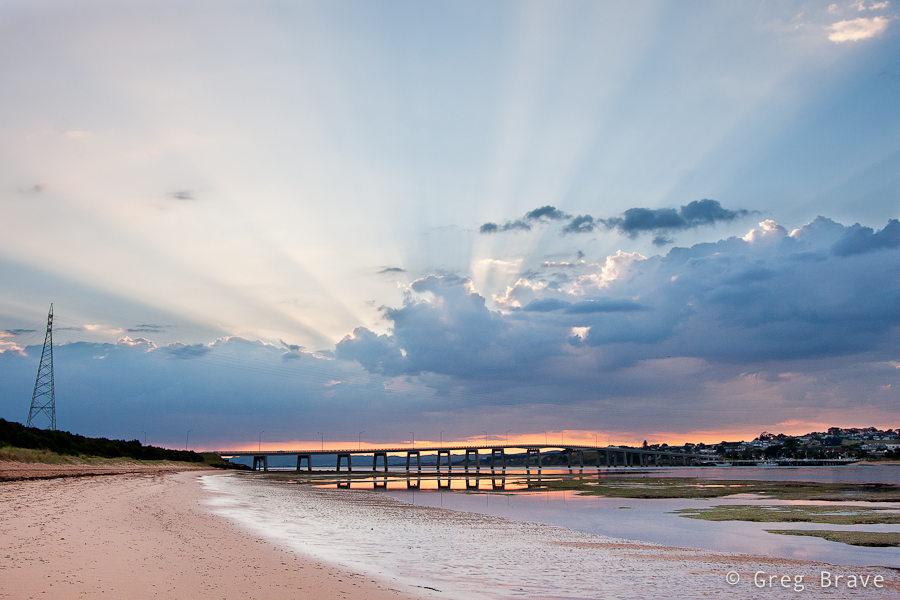
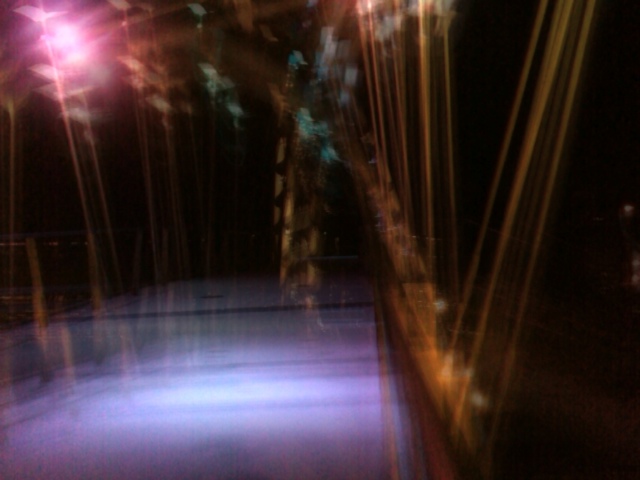
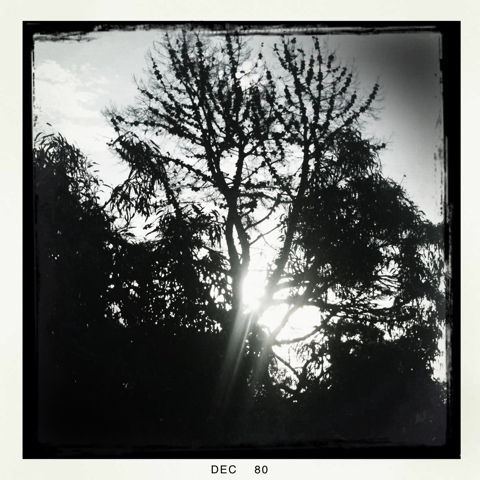
The following photos were made long after the sunset and it was getting darker by the minute, but tiny fraction of light was still remaining to light up the sky just enough.
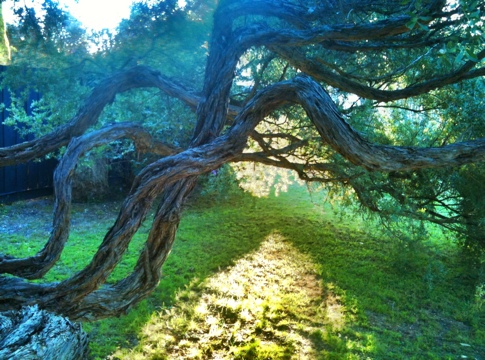
I liked the reflection of the bridge as if it was completing a circle. It was also a bit unusual point of view as this bridge is usually photographed facing the ocean, while I was looking at it from the opposite direction.
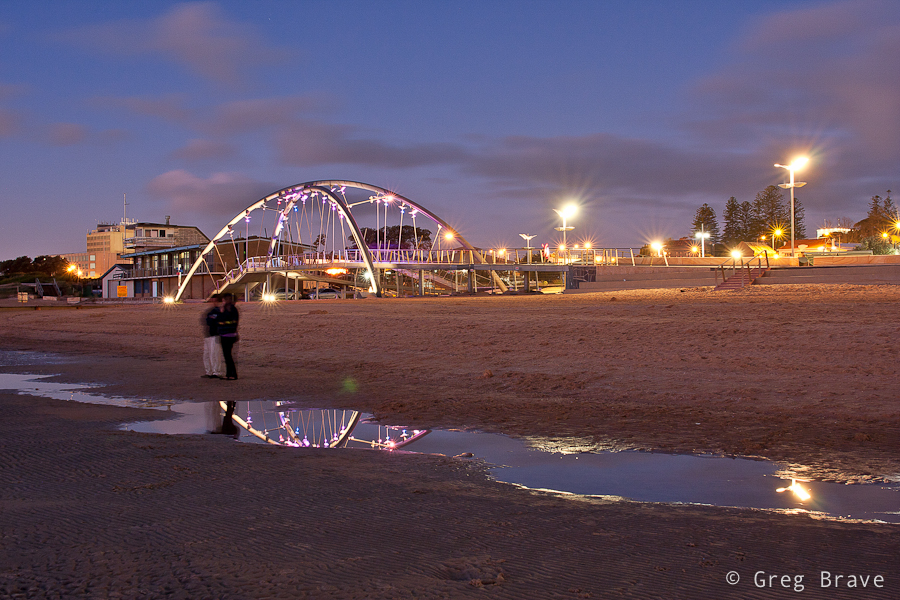
Click on the photo to enlarge.
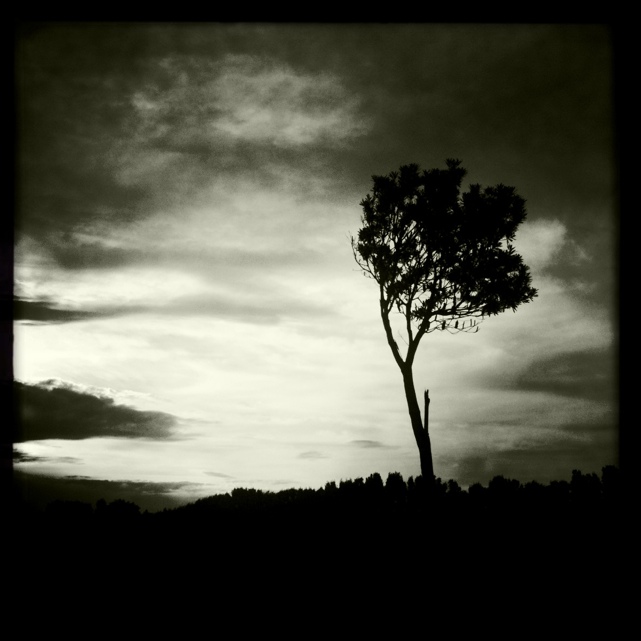
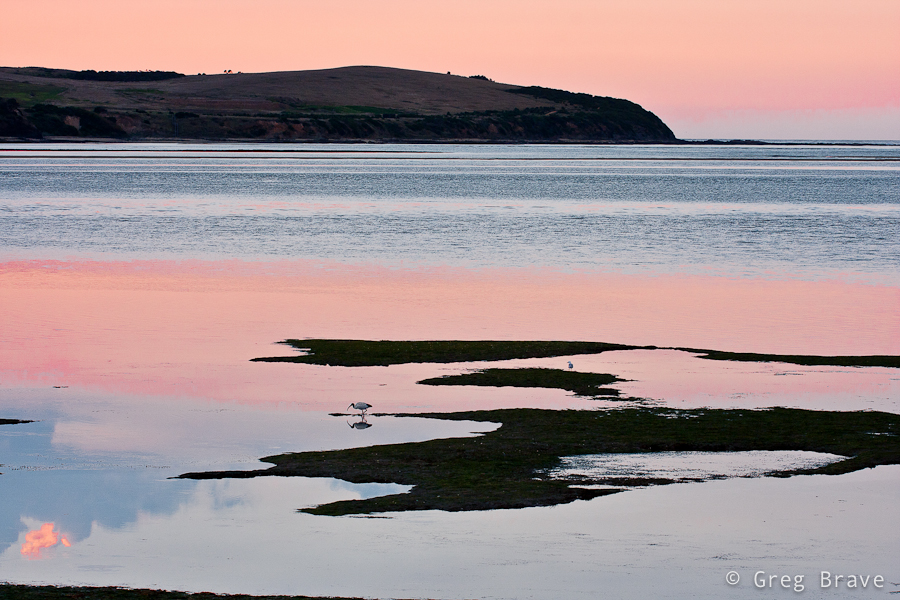
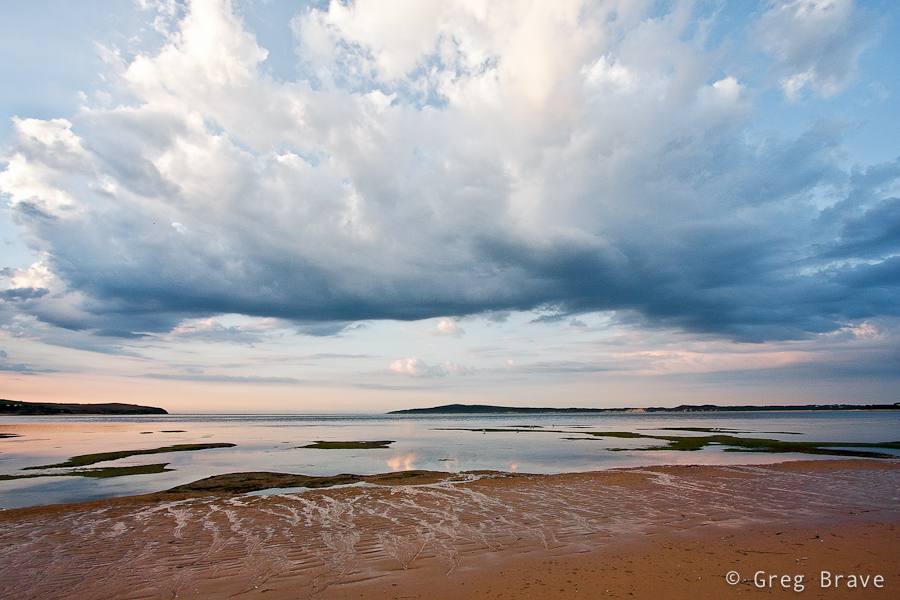
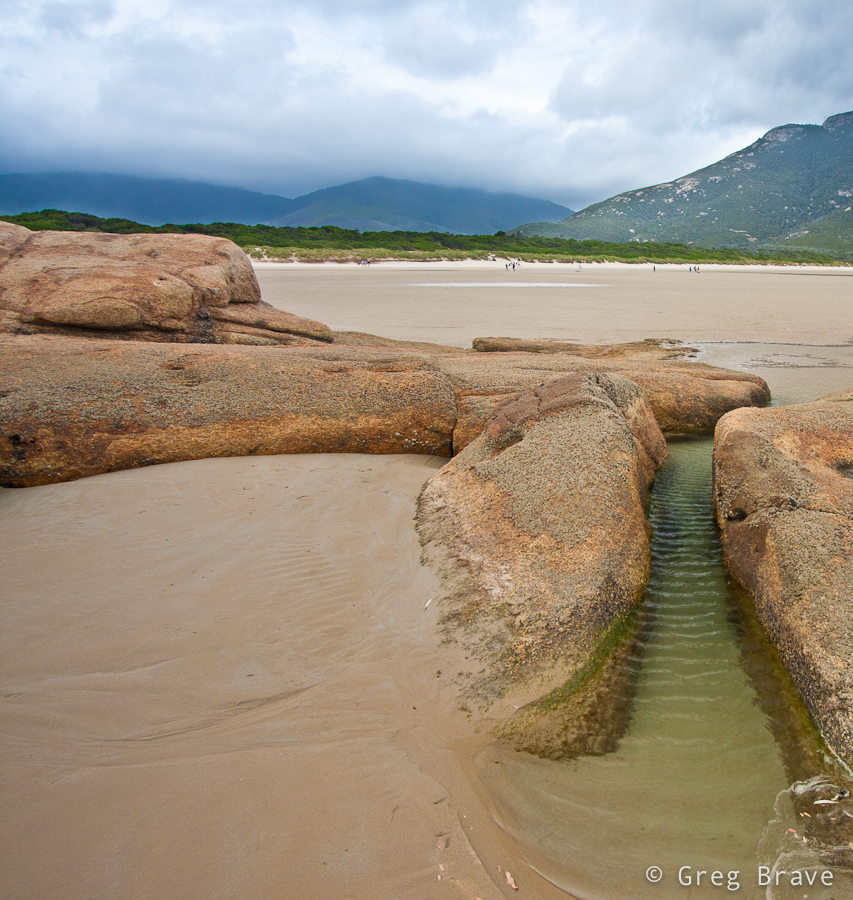
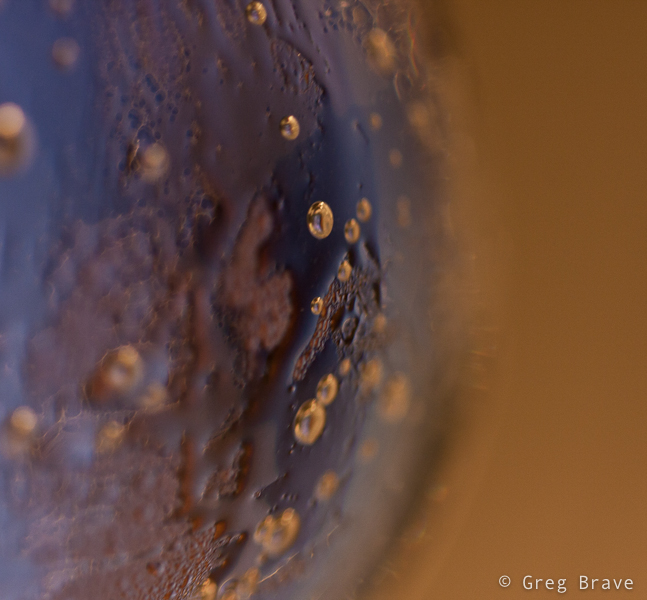
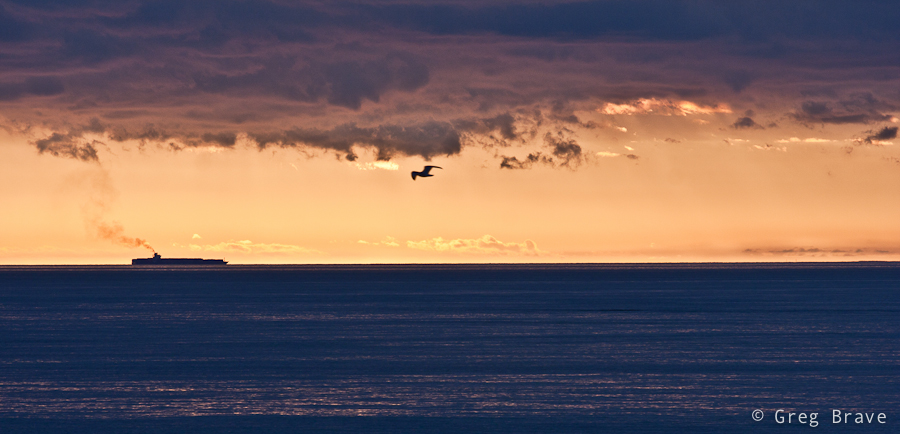
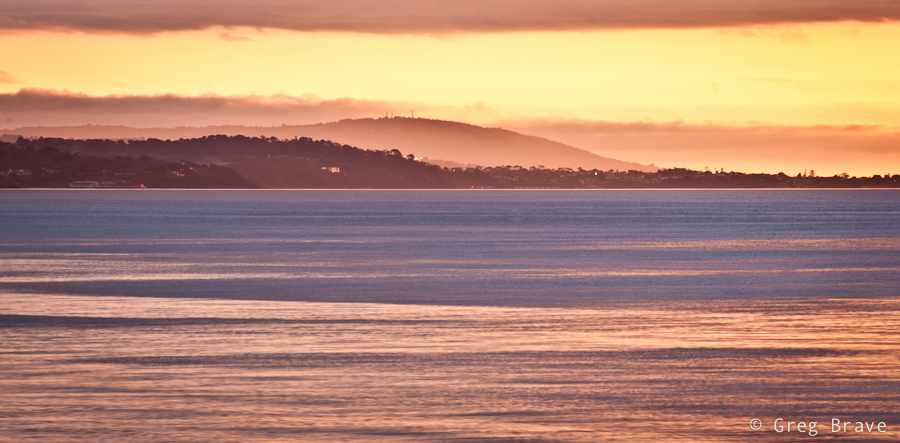
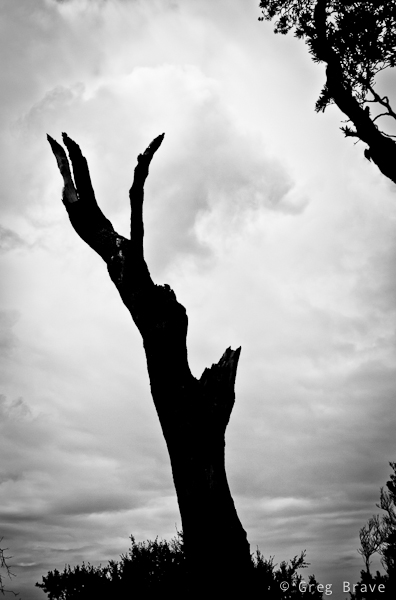
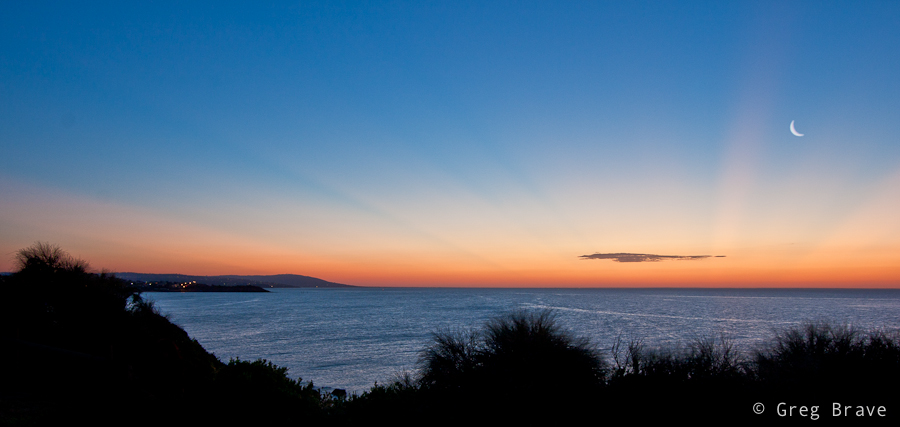
I like the simplicity of the next photograph as all the interesting details in it are concentrated in the narrow strip located in upper third. The shapes of the clouds are beautiful, and so is the light, which seems to come from the city lights. I think this photo can make for a great wallpaper.
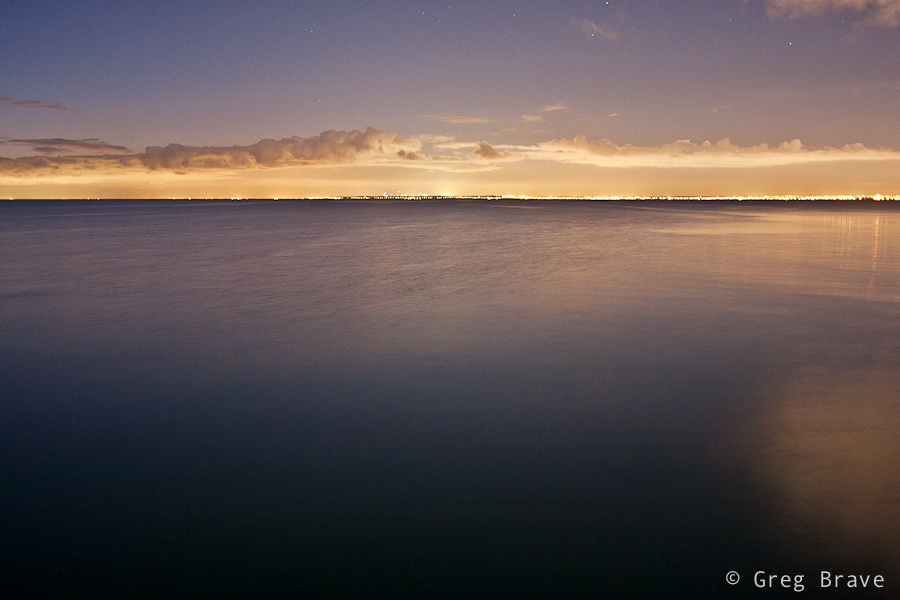
Click on the photo to enlarge.
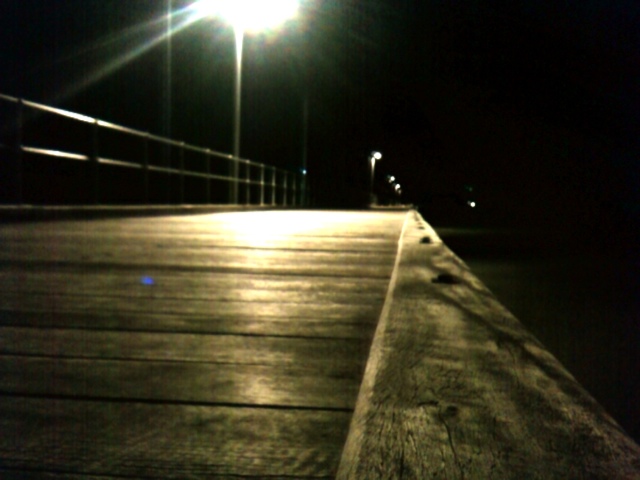
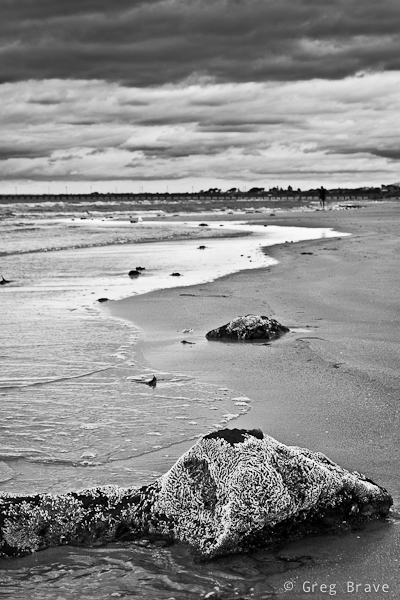
The last photo was made when there was no sunlight left, making the reflections of the light vividly visible. I liked the straight lines of the pier, the shore, and the light poles in contrast with the slightly distorted reflections in the water.
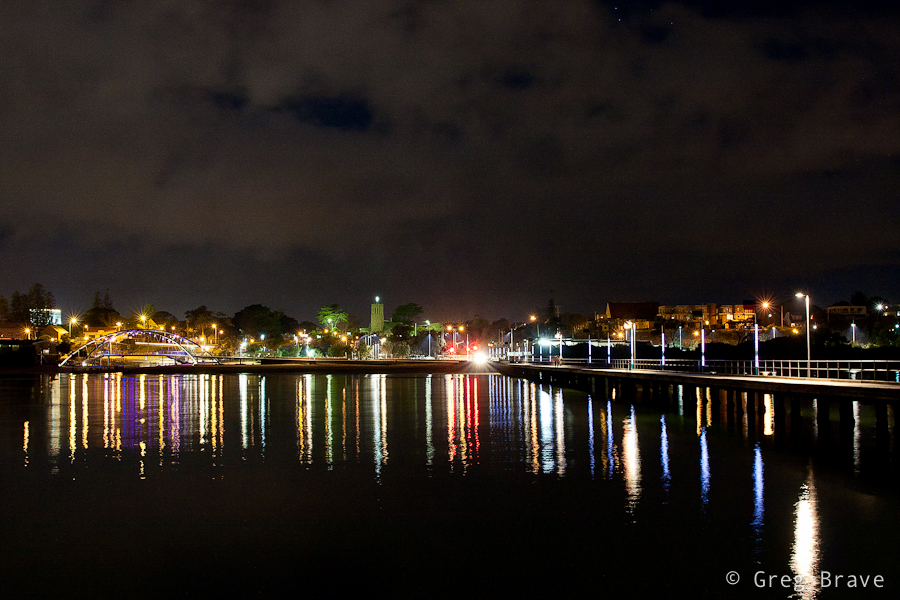
Click on the photo to enlarge.
What are your experiences with sunset / night photography?
Feel free to post your experiences and links to your photos in the comment section below.


