
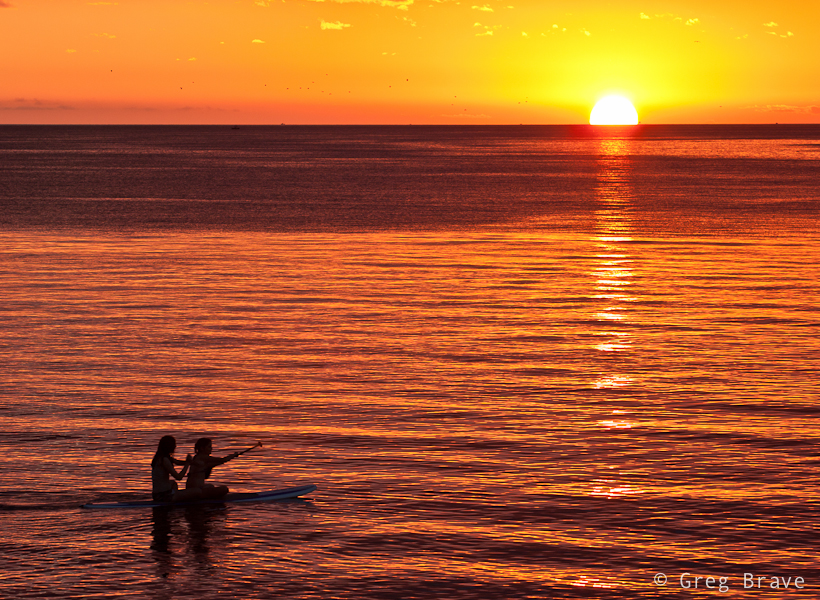
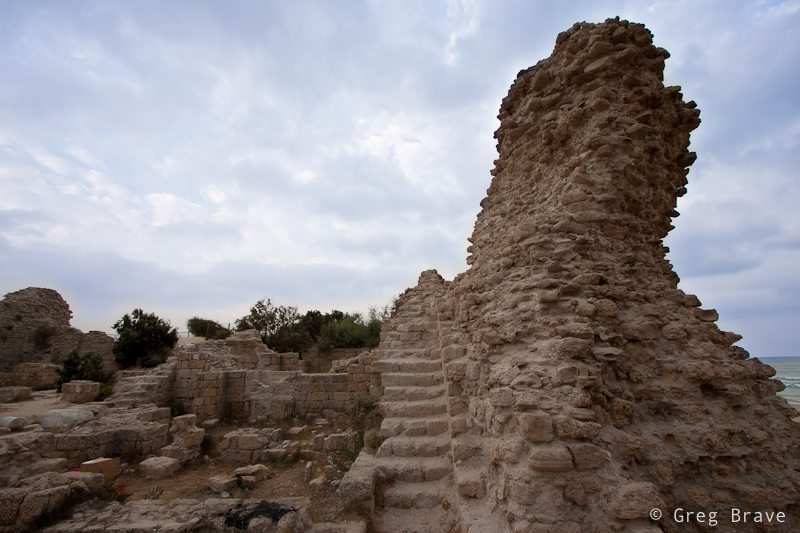
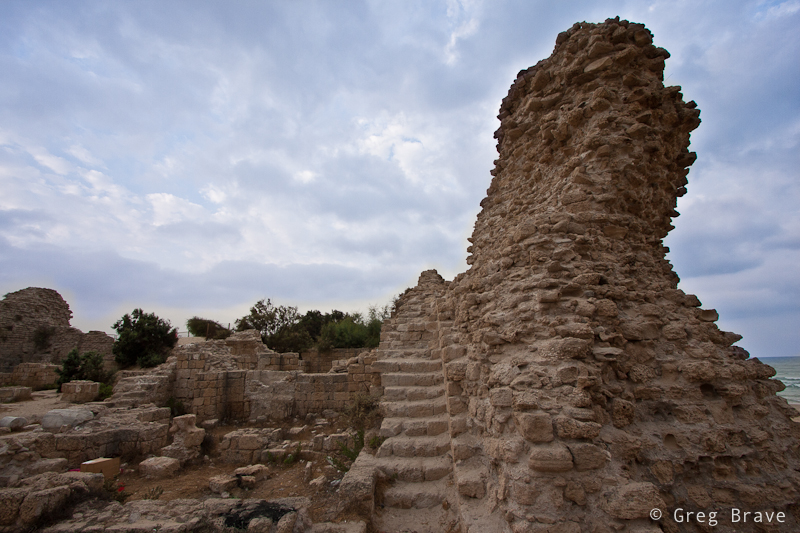
In this post I’d like to talk about composing photographs “after the fact”. Wait, don’t jump to any conclusions just yet, let me explain what I mean.
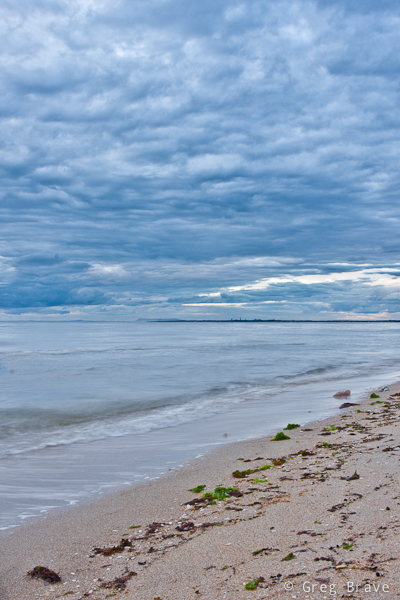
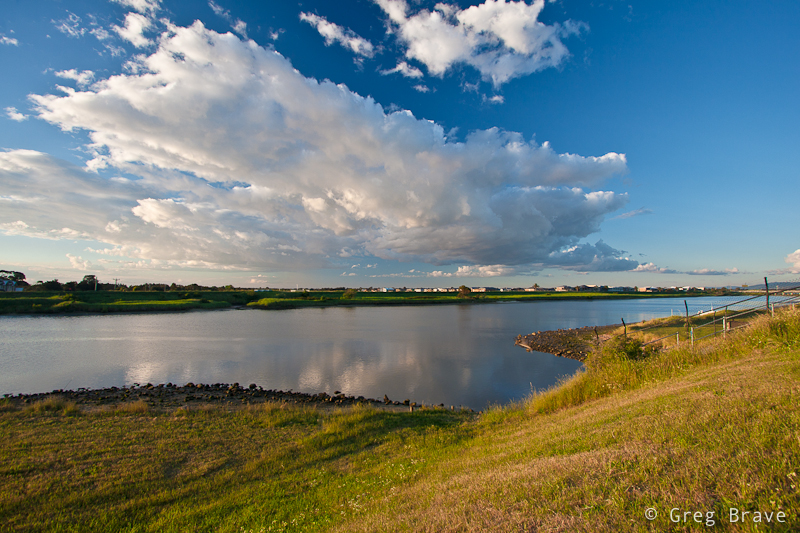
About a month ago I had to fly to Sydney for work but got stuck at the airport due to bad weather. I spent about two hours sitting in front of the large viewing glass looking at the runways. The weather was indeed stormy, it was dark from all the clouds, and there was nothing to photograph.
But when the weather started to get better, clouds began to clear, and airport started to come back to life, I finally took my camera out and started to stock my prey. I wanted to capture this feeling of the “airport awakening” when the planes begin to approach the runways, and workers move to and fro. Unfortunately no matter how hard I tried or how long I waited, I couldn’t capture the picture I had in mind… at least not in a single frame. Needless to say that I was very disappointed.
Later, when I returned home and went over those photos, my imagination switched gears – I saw details in different photographs, that put together would be able to create that image I had in my mind while shooting. Since I know my way around Photoshop, I decided to go ahead and try to do that.
I ended up with two images which both have two things in common – both of them I would call “airport awakening” because they portray the clearing of the storm, and resuming operations of the airport. The second thing is the way in which I created this sense of awakening – with directions. I’ll explain this in more detail by going over the images.
In this first image I have three different “directions”, which go in zig-zag shape leading the viewer’s eye from one element of composition to the next. First is the direction of the two trolleys, which goes from lower right to somewhere in the middle left side of the image, next is the direction of the moving utility vehicle which catches the eye on its way to the left and redirects it towards the upper right corner, and finally the eye reaches the plane and again changes direction to the left ending up on the airplanes in the distance. The floor is still wet from the rain, but the sun starts to shine through, giving the feeling that storm has ended…
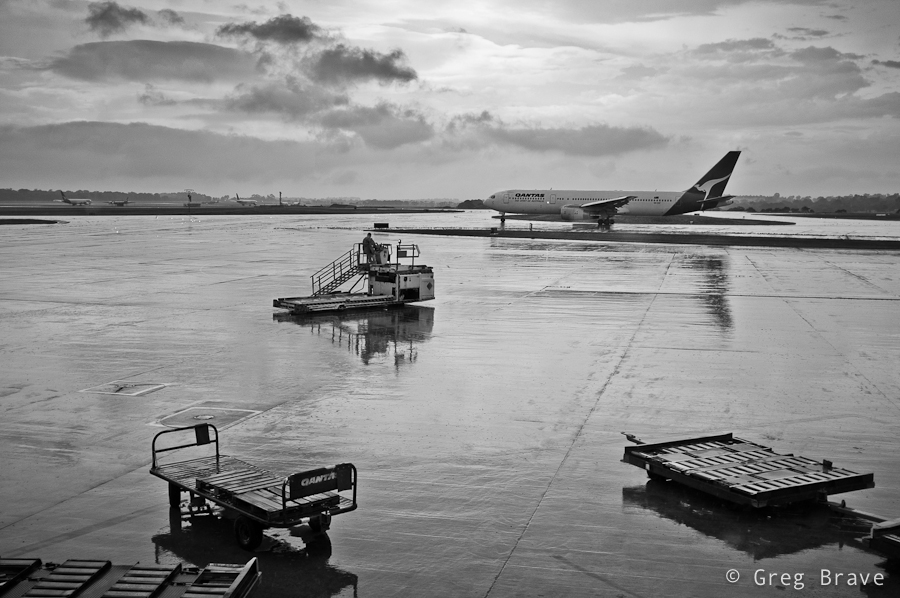
Click on the photo to enlarge.
The second image is darker, as if there is still the danger of the storm, but the moving vehicles hint of a hope for good weather. And again, we have the directions theme – from right to left, then from left to right, and finally the plane takes us into the depths of the image.
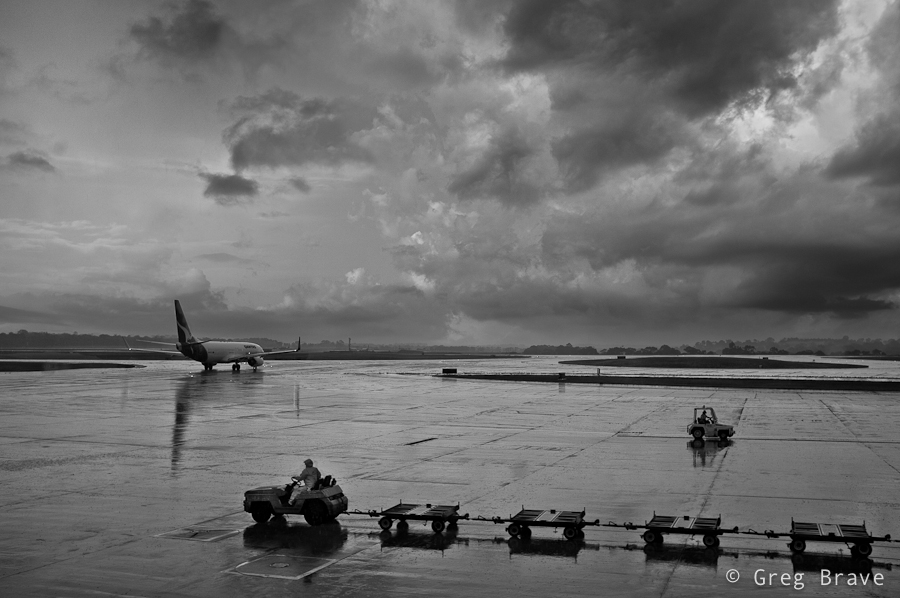
Click on the photo to enlarge.
The main thing that made the compositing easy was that I shot all the photos from approximately the same location and also I was using the same focal length.
As always your thoughts, suggestions, and critiques are welcome in the comments section below.


